How to Draw Leaves: Simple Shapes, Veins and Edges
Build a leaf from a curved midrib, add an outline with two slightly different halves, branch the veins, choose an edge and shade one half so it has form.
Tutorial at a glance
What you need
- HB pencil
- 2B pencil
- Kneaded eraser
- Pencil sharpener
- Sketchbook or drawing paper
Most first leaves come out as flat almonds: two matching arcs, a straight line down the middle and a row of stiff veins. They are not wrong, but they look cut from paper. A leaf starts to look alive when it bends, when its two halves differ a little, and when one side catches less light than the other.
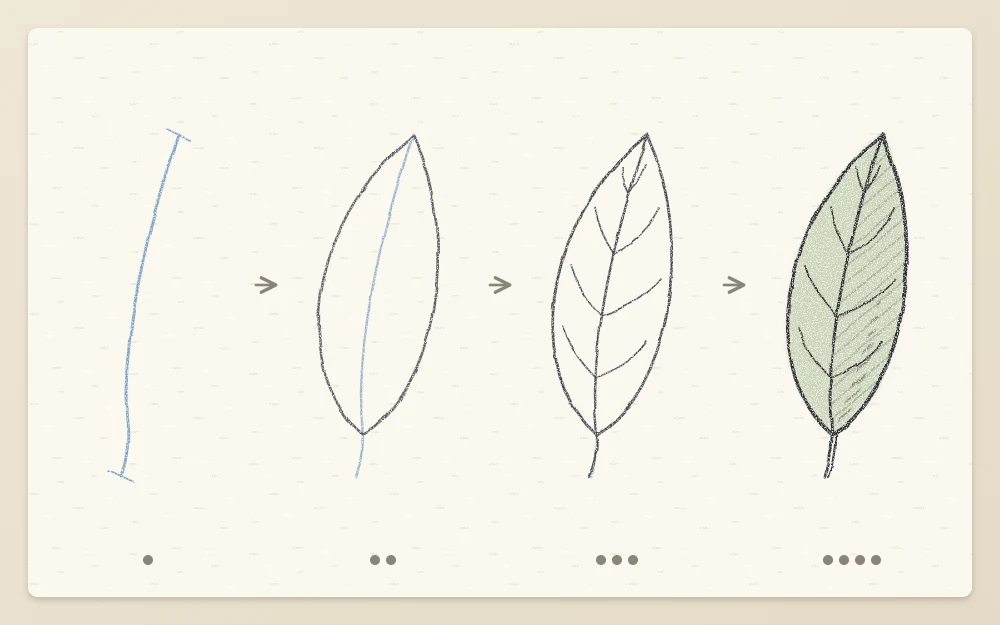
This guide to how to draw leaves builds one leaf in that order: a curved midrib first, then the outline, the veins, the edge and a little shading. It takes roughly ten minutes per leaf once the steps are familiar.
What you need
- An HB pencil for the light construction lines
- A 2B pencil for final lines and shading
- A kneaded eraser
- Any smooth sketchbook page
If you can, put a real leaf on the table beside you. Turning it in your fingers shows the fold along the midrib better than any description.
Step 1: Draw the midrib as one curve
The midrib is the central vein, and it sets the gesture of the whole leaf.
- With the HB pencil, draw one line about 3 in (8 cm) long, from the base of the leaf to its tip. Press lightly.
- Give it a gentle bend, like a shallow letter C or a very relaxed S. Avoid a ruler-straight line.
- Draw it in one movement from the shoulder, not in short scratchy strokes. If it wobbles, draw another beside it and erase the weaker one.
Step 2: Add the outline, one side at a time
- Start at the base of the midrib. Draw the first edge as a curve that swings out, reaches its widest point about one third of the way up, and narrows to meet the midrib at the tip. At its widest, this half should be about one quarter as wide as the midrib is long.
- Go back to the base and draw the second edge on the other side. Make it slightly different on purpose: a little narrower, or with its widest point a bit higher.
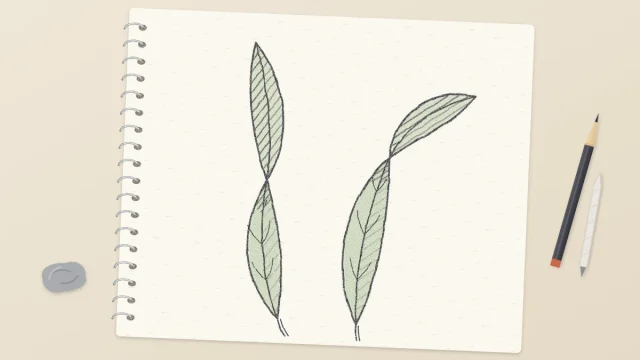
- On the inside of the midrib’s bend, the half looks narrower. On the outside of the bend, it looks wider. Follow that rule and the leaf will already seem to tilt in space.
- Bring both edges to a clear point at the tip. Let the tip lean in the direction the midrib is curving.
Common mistake
Mirroring the two halves exactly. A perfectly symmetrical leaf reads as a flat symbol. A small difference between the halves is what suggests a real surface seen at an angle.
Step 3: Branch the side veins
- Starting near the base, draw a side vein that leaves the midrib at an angle of roughly 45 degrees, pointing toward the tip.
- Curve it gently so its far end bends even more toward the tip, following the edge of the leaf.
- Stop it short. The vein can fade out about three quarters of the way to the edge; it does not need to touch the outline.
- Add four or five veins on each side, a little closer together as you near the tip. Stagger them slightly so the left and right veins do not leave the midrib at exactly the same spot.
- Keep the veins lighter than the outline. They are thin lines on a surface, not bars across it.
Step 4: Choose the edge
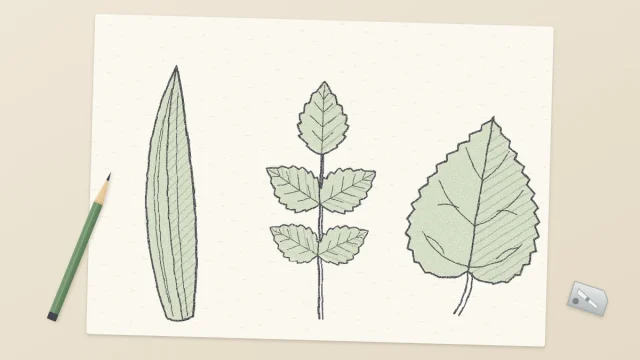
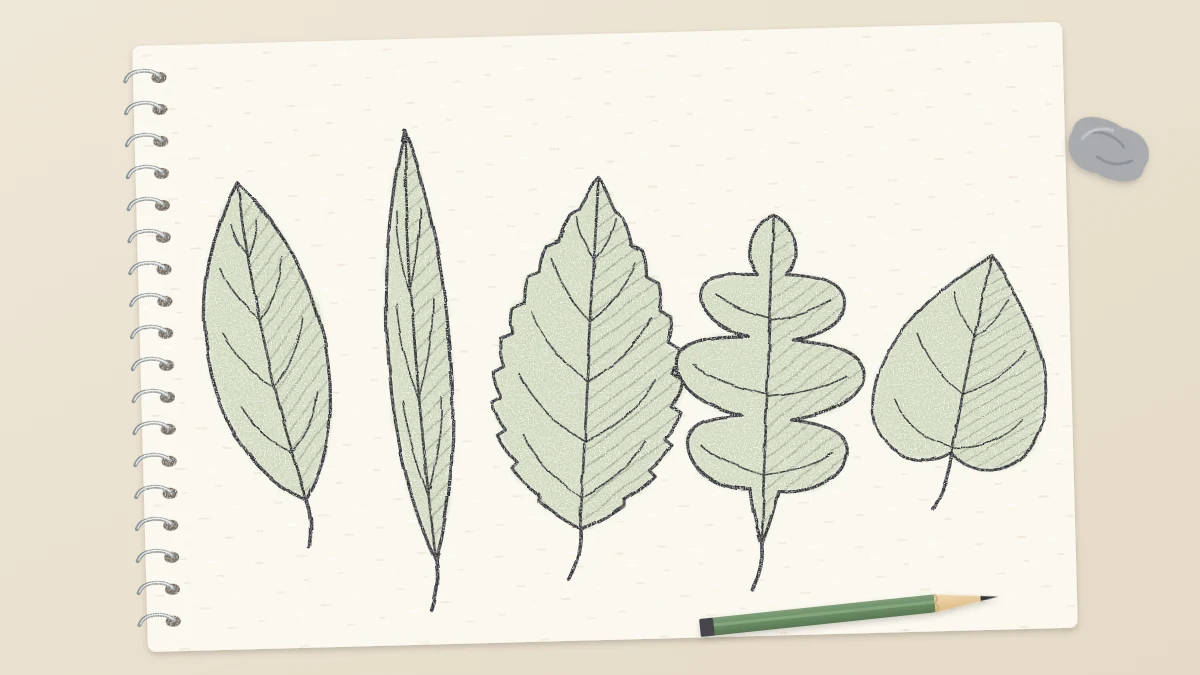
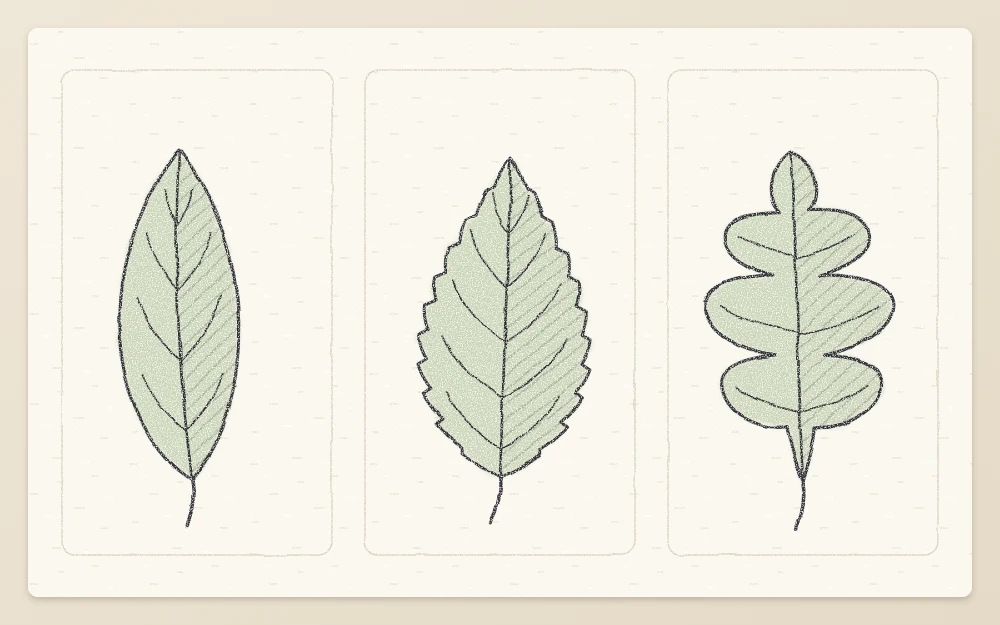
The outline you drew is a guide for the general shape. Now decide what the edge itself looks like. Three types cover most of what you will meet.
- Smooth. Leave the outline as a clean, flowing line. Go over it once with the 2B pencil.
- Toothed. Replace the outline with a row of small points, like the teeth of a saw. Each tooth leans toward the tip, and the teeth get smaller near the tip. Keep them a little uneven.
- Lobed. Cut deep, rounded bays into each side so the leaf has several rounded fingers. Aim each bay at the midrib, between two side veins, and let each lobe carry one vein down its middle.
Which edge and outline belong to which plant is a topic of its own; see the guide to matching leaf shapes to flowers.
Step 5: Fold the leaf and shade one half
Most leaves are not flat. They fold slightly along the midrib like an open book, so one half faces the light and the other turns away.
- Decide where the light comes from, for example the upper left.
- Pick the half that turns away from the light. With the 2B pencil, cover it with light hatching: parallel lines that follow the direction of the side veins.
- Press a little harder right next to the midrib, and let the tone fade toward the edge.
- Leave the other half as clean paper, with only a faint strip of tone along the midrib.
- Darken the outline on the shaded side and keep it thinner on the light side. That change in line weight adds to the sense of form.
Tip
Draw the midrib as two very close lines near the base that merge into one toward the tip. It shows that the vein has thickness and tapers.
Step 6: Attach the leaf with a stalk
- Extend the midrib past the base of the leaf by about one sixth of the leaf’s length. This is the stalk.
- Thicken it with a second line, slightly wider where it will meet the stem.
- Let the two edges of the leaf run into the stalk as smooth curves, not as a sharp corner.
- Where the stalk joins the stem, draw a tiny bump or widening. The joint is what makes the leaf look grown, not glued on.
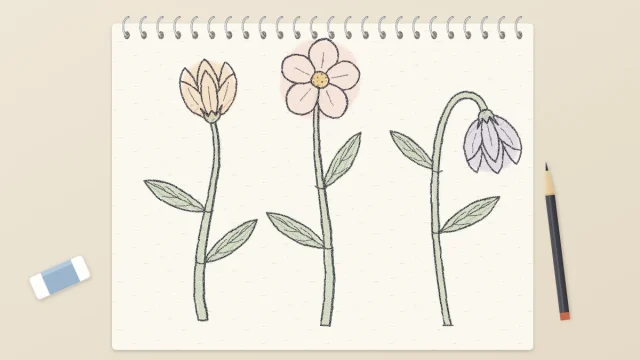
How the stem itself is drawn, and where leaves sit along it, is covered in the guide to drawing flower stems.
Common problems and next steps
- The leaf still looks flat. Curve the midrib more and make the difference between the two halves larger.
- The veins look like a ladder. They are too straight and too even. Curve them toward the tip and stagger them.
- The shading looks dirty. Keep the hatching lines parallel and stop at the midrib so the light half stays clean.
Once a flat leaf feels comfortable, the next challenge is a leaf that twists and shows its underside. That is explained in the tutorial on curled and folded leaves.
Frequently asked questions
Why do my leaves look flat?
Flat leaves usually have a straight midrib and two identical halves. Bend the midrib, make one half a little narrower than the other, and shade the half that turns away from the light. Those three changes suggest a surface that folds and tilts instead of a cut-out shape.
Should leaf veins reach the edge of the leaf?
They do not have to. In a drawing, side veins usually look more natural when they leave the midrib at an angle, curve toward the tip and fade out before the outline. Veins drawn all the way across at full strength tend to look like stripes.
What is the difference between a toothed and a lobed leaf edge?
A toothed edge keeps the overall outline of the leaf and breaks it into many small points, like a saw. A lobed edge changes the outline itself, with deep bays that divide the leaf into several rounded or pointed sections, each with its own main vein.