Flower Drawing for Beginners: Where to Start
A starting map for your first flower drawings: the three habits that matter, how long to practice, what to gather and which flowers to draw first.
A blank page and a real flower can feel like a bad match. The flower has dozens of edges, folds and shadows, and the page has nothing on it yet. Flower drawing for beginners gets much easier once you stop trying to draw all of that at once and work in a fixed order instead.
This guide is the starting point: why flowers are a kind subject to learn on, the three habits that carry almost every drawing, how long to practice, and which flowers to draw first. Each topic has its own detailed guide, so treat this page as the map.
Why flowers are a forgiving subject
A face that is slightly off looks wrong at once. A flower that is slightly off still looks like a flower, because real flowers are irregular. Petals differ in width, stems lean, leaves twist. Small errors in your drawing read as natural variation rather than as mistakes.
Flowers also repeat. Once you can draw one petal of a daisy, you can draw all of them, and the same goes for leaves along a stem. That repetition gives you many tries at the same shape inside a single drawing, which is exactly the kind of practice a new hand needs.
The three habits that matter most
Nearly every flower on this site is drawn in the same three stages. Learn the order now and the individual tutorials will feel familiar.
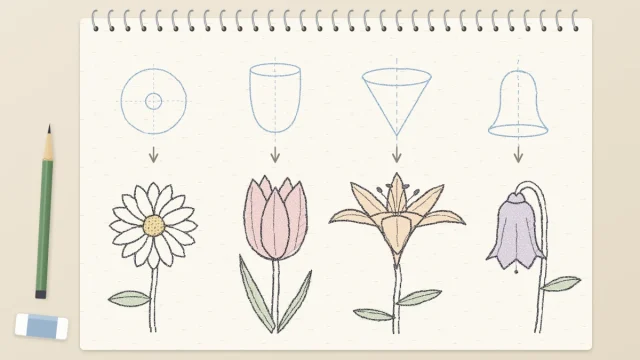
- Light construction shapes first. Before any petal, draw the simple shape the whole flower fits inside: a circle, a cup, a cone. Use an HB pencil and press so lightly that the line is barely visible. These guides fix the size, the position on the page and the direction the flower faces.
- Petals second. Place the petals inside the guide, starting with the ones nearest to you. Keep the pressure light here too. You are still deciding where things go, and light lines are easy to adjust.
- Detail and shading last. Only when the petals sit well do you switch to a 2B pencil, firm up the contour, add the center, veins and a little shading, and lift the leftover guides with a kneaded eraser.
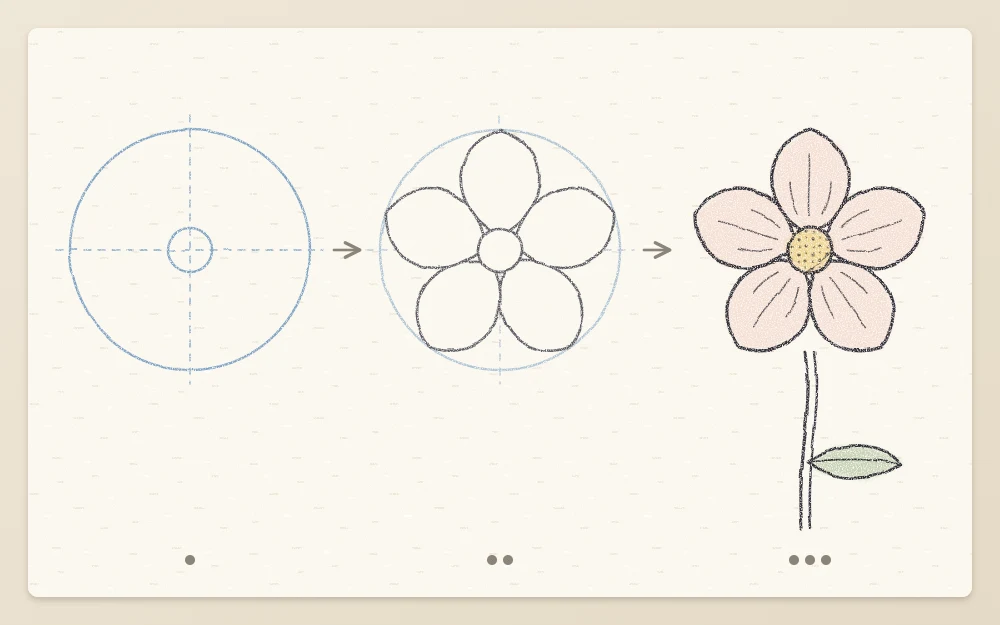
The panels from left to right show the whole idea on one small flower. The circle sets the outer limit, the petals are fitted inside it, and the blue guide lines disappear at the end. If you want to understand the different guides before you start, the article on the simple construction shapes inside every flower covers circles, cups, cones and bells one by one.
Common mistake
Starting with one petal and drawing it in full detail. The first petal ends up too big, the others run out of room, and dark lines are hard to move. Stay loose and light until the whole flower is placed.
What you need before you begin
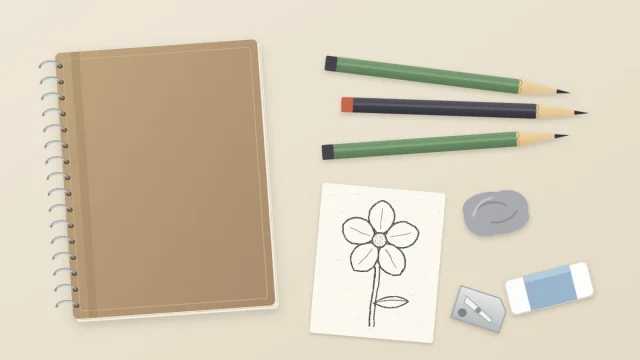
Very little. An HB pencil, a 2B pencil, a kneaded eraser, a pencil sharpener and any plain paper will take you through your first month. A soft 4B pencil is useful later for the darkest accents but is not needed on day one.
If you are unsure what the pencil grades mean or which paper surface to pick, read the short guide to pencils, paper and erasers for flower drawing before buying anything. The main point is that beginner results depend far more on how lightly you press than on what you are holding.
How long a first practice session should be
Keep it short: roughly 15 to 20 minutes is plenty for a first session. Attention and hand control both fade when you are learning something new, and a tired hand presses harder and rushes. Several short sessions in a week usually help more than one long one.
A simple way to split the time:
- About 5 minutes of warm-up. Loose lines, curves and ellipses on a scrap sheet so your first marks on the real drawing are not your stiffest ones.
- About 10 minutes on one flower. Draw it small, around 3 in (8 cm) across, so a mistake costs little and you can fit a second attempt beside the first.
- A minute or two to look back. Pick one thing that worked and one thing to change next time. Write nothing down unless you want to.
The warm-up part matters more than it seems. Wobbly or heavy lines are usually a control problem, not a talent problem, and a few short pencil control exercises at the start of a session tend to steady the hand quickly.
What to draw first, and in what order
Choose flowers by their construction shape, moving from flat to deep. A sensible path looks like this:
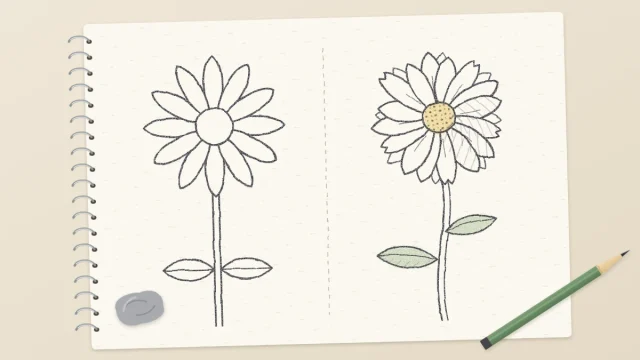
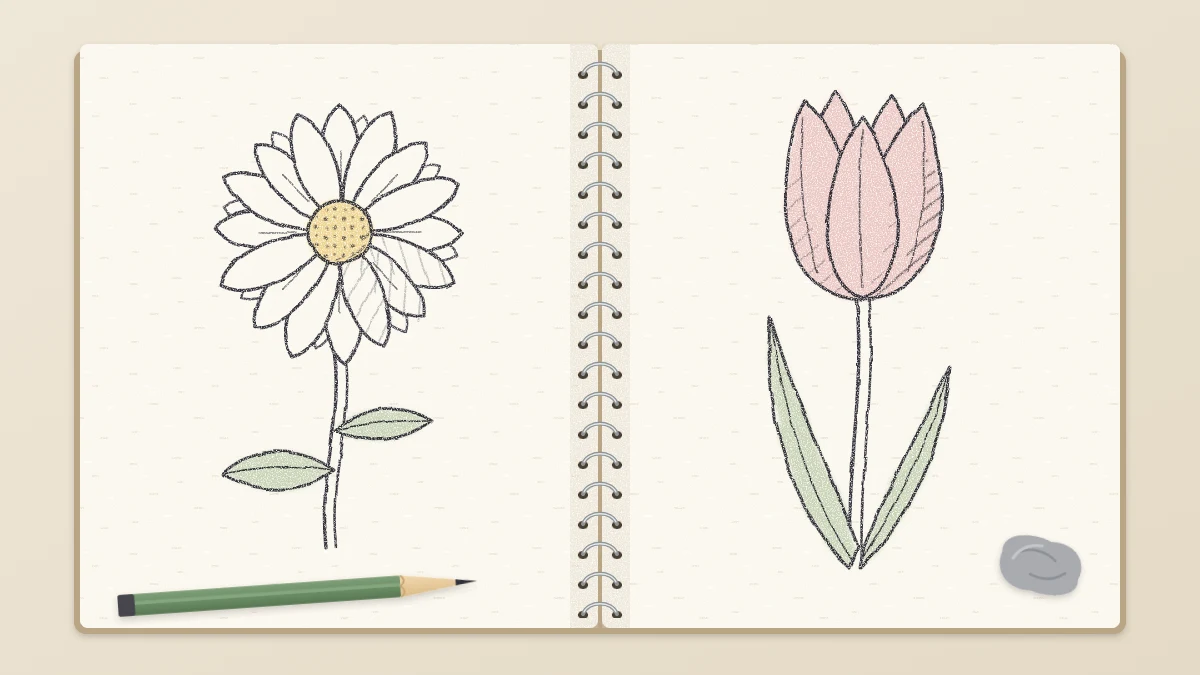
- A flat, front-facing flower. A daisy is the classic first choice: a small circle inside a large one, with long narrow petals between them.
- A cup-shaped flower. A tulip seen from the side has few petals and one strong outline, and it introduces overlap.
- A flower made of small repeated marks. A lavender sprig teaches rhythm and spacing without any difficult petal.
- A tilted flower. Draw your daisy again on an ellipse instead of a circle. This is your first taste of foreshortening.
- Stems and leaves. Add them once the flower heads feel comfortable, so you are only learning one new thing at a time.
Roses, lilies and full bouquets can wait. They are built from the same habits, with more overlap and more layers, and they feel far less intimidating after a few weeks of simpler blooms.
For a first complete drawing with every step spelled out, follow the tutorial on drawing a daisy from two circles.
Where to find flowers to draw
Work from life when you can. One stem in a glass of water, placed at eye level with light coming from one side, shows you things a flat picture hides: how petals overlap, how the stem joins the head, how the shape changes when you turn it.
When a real flower is not available, use photos you took yourself. Take several from different angles so you can check the form.
What progress usually looks like
Early drawings tend to come out small, dark and a little stiff. That is normal. The first changes most people notice are lighter guide lines and rounder circles, followed by petals that fit their space instead of crowding it. Shading and confident line weight come later.
How fast this happens varies with how often you practice and how carefully you look. Keep your early pages: comparing a flower from this week with the same flower a month from now is the clearest measure you will have.
Frequently asked questions
Can I learn to draw flowers with no art background?
Yes. Flower drawing is built from a few simple shapes such as circles, cups and cones, and those can be learned by anyone who can hold a pencil. Progress depends mostly on regular short practice and on drawing lightly at first. How quickly drawings improve varies from person to person.
What is the easiest flower to draw first?
A daisy seen from the front is a good first choice. It is built from two circles, its petals are all the same simple long shape, and small differences between petals look natural. A tulip seen from the side is a sensible second flower because it has few petals and one clear outline.
How often should a beginner practice drawing flowers?
Short and regular usually works better than long and rare. Around 15 to 20 minutes, a few times a week, is enough to build hand control without getting tired. Begin each session with a brief warm-up of lines and curves, then draw one small flower and look back at it for a minute.