How to Draw a Daisy Step by Step
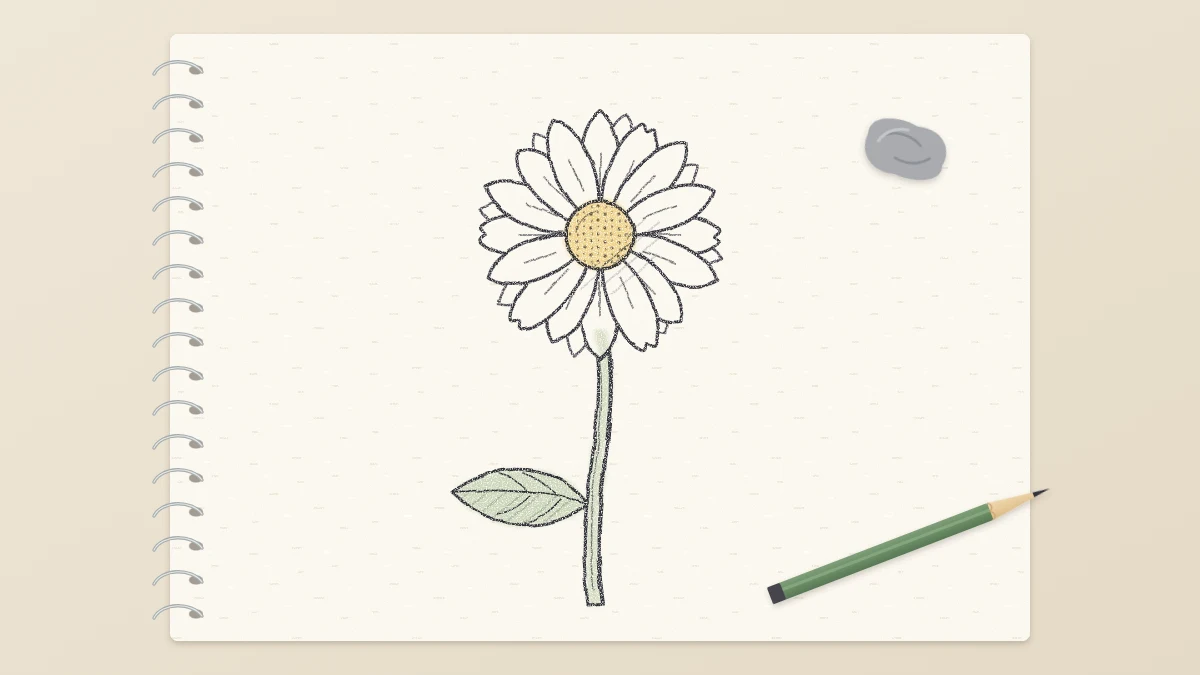
Draw a daisy from two light circles: place four petals, fill the gaps, add a second layer, dot the center and finish with a slender stem and leaf. Includes a tilted variation.
Tutorial at a glance
What you need
- HB pencil
- 2B pencil
- Kneaded eraser
- Pencil sharpener
- Sketchbook or drawing paper
The daisy is the friendliest first flower. It faces you squarely, its petals are all the same simple shape, and the whole thing is built from two circles. If you have never finished a flower drawing you were happy with, this is a good place to start.
This guide shows how to draw a daisy in seven short steps, beginning with light construction shapes and ending with a finished flower on a stem. Read each step through before you draw it. The sizes are given in proportion to the first circle, so you can work as large or as small as you like.
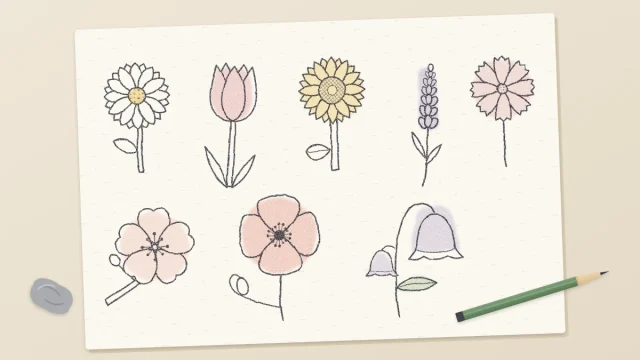
You need an HB pencil for the light guides, a 2B for the finished lines, a kneaded eraser and a sheet of paper. A daisy fits the simplest construction shape of all, a flat disc seen from the front; the overview of basic flower shapes shows how that disc relates to cups, cones and bells.
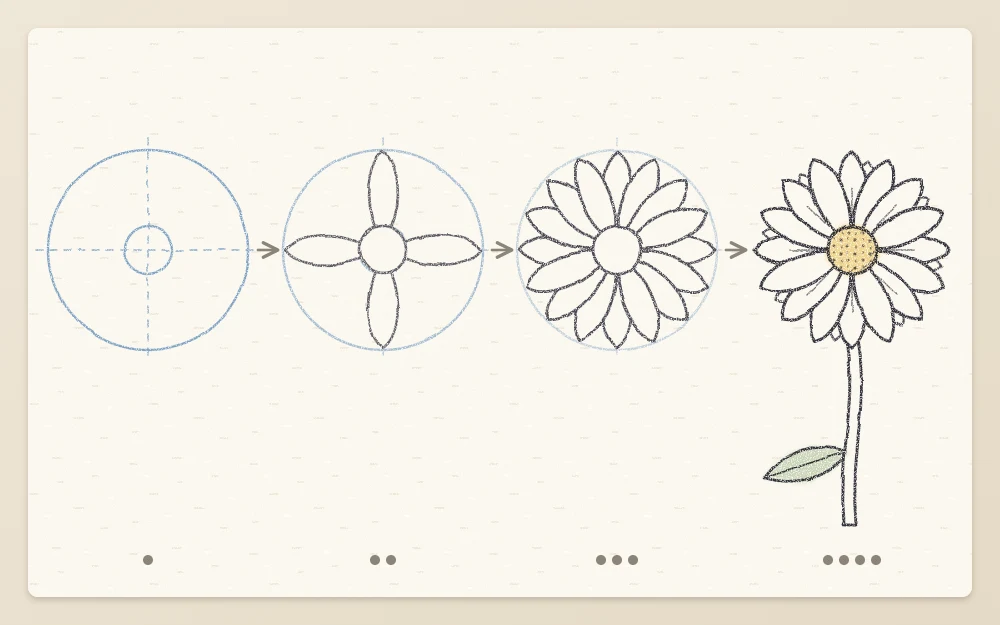
Step 1: Draw Two Circles
- With the HB and very light pressure, draw a small circle about 1 in (2.5 cm) across in the upper half of your page. This is the center disc.
- Around it, sharing the same middle point, draw a large circle four times as wide, about 4 in (10 cm) across. This marks where the petal tips will end.
The gap between the two circles should be the same all the way around: one and a half times the width of the small circle. If it is wider on one side, redraw the large circle before going on.
Step 2: Place Four Petals
Daisy petals are long and narrow, with nearly parallel sides and a rounded tip. Each one is about a third as wide as the center disc.
- Start at the top of the small circle. Draw a narrow petal straight up to touch the large circle: two lines that begin close together at the disc, widen slightly, run almost parallel, then curve in to a rounded tip.
- Draw the same petal pointing straight down from the bottom of the disc.
- Draw one pointing left and one pointing right.
Check that the four petals are the same width and that all four tips touch the guide circle.
Step 3: Fill the Gaps
- In each of the four gaps, draw one petal exactly halfway between its neighbors, pointing diagonally. That makes eight petals.
- There are now eight narrower gaps. Draw one petal in the middle of each for a total of sixteen.
At the disc, the petal bases will sit shoulder to shoulder with almost no space between them. Out at the tips there will still be clear gaps. That is correct, and the next step uses those gaps.
Now loosen things up. Let two or three petals stop a little short of the guide circle, let one lean slightly to one side, and give a few tips a tiny notch in place of a smooth curve. Small differences keep the flower from looking stamped.
Step 4: Add a Second Layer
A real daisy has more petals than fit in one flat ring, so some sit behind others. You only need to suggest them.
- Look at the gaps between the petal tips. In about half of them, draw a rounded tip peeking out from behind, like the top of a thumb.
- Bring its two short sides down until they meet the edges of the petals in front, then stop. Do not draw through the front petals.
- Keep these back tips just inside the guide circle, so they look a little farther away.
Step 5: Texture the Center
What looks like one flower is really a disc of tiny florets ringed by ray petals, which is why the center has a bumpy, dotted texture instead of a smooth surface.
- Decide where the light is coming from. Upper left is easy to remember.
- Switch to the 2B. Fill the disc with small dots, working in loose curved rows, not a grid.
- On the side away from the light, the lower right, pack the dots closely so they almost touch. On the lit side, space them out and leave a small patch of bare paper.
- Go once around the rim of the disc with a slightly bumpy line instead of a smooth circle.
For domed discs and other kinds of middle, see the guide to drawing flower centers.
Step 6: Stem and Leaf
- From behind the bottom petals, draw one light line downward with a gentle curve, about one and a half times as long as the flower is wide. This is the stem’s center line.
- Draw a second line beside it, about an eighth of the center disc’s width away. The stem is slender; keep the two lines close and nearly parallel.
- Near the bottom of the stem, add one simple leaf: a narrow spoon shape about as long as a petal and a half, wider toward its rounded tip, with a single line down its middle.
Step 7: Clean Lines and Finish
- With the 2B, go over each petal in single, confident strokes. Press a little harder near the disc and under any petal that overlaps another, and lighter toward the tips.
- Press the kneaded eraser onto both guide circles to lift them. Dab; do not scrub.
- Add one or two fine lines running lengthwise on a few petals, starting at the disc and fading out before the middle. Leave the rest plain.
Common mistake
Making the petals too wide. Fat petals turn a daisy into a generic cartoon flower. If yours look heavy, compare one with the center disc: a petal should be only about a third of its width.
Variation: A Tilted Daisy
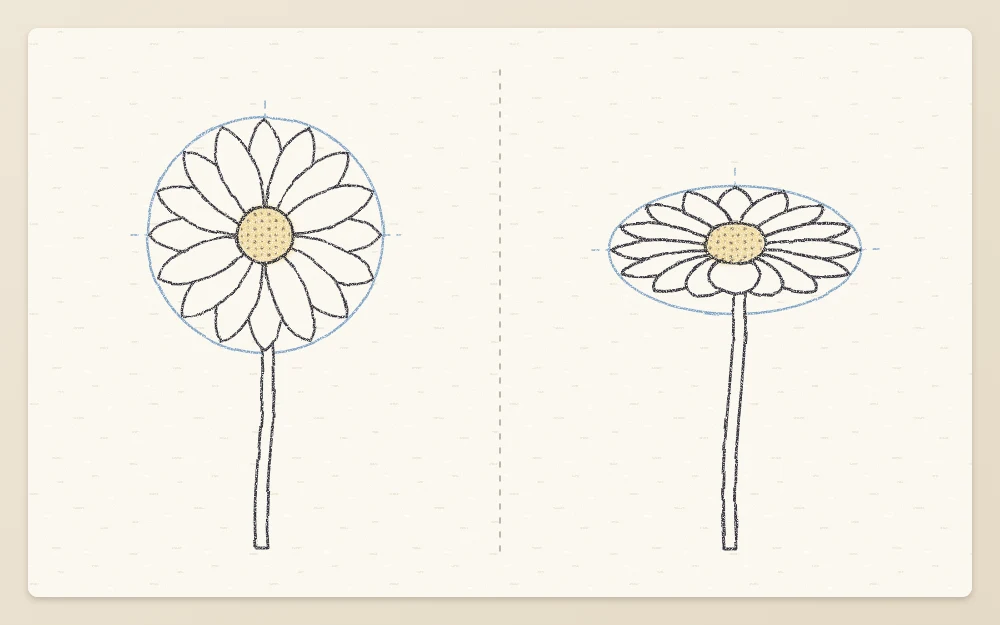
Once the front view feels comfortable, tip the flower away from you. Both circles become ellipses: keep the widths the same and squash the heights to about half. Nudge the center ellipse slightly above the middle of the large one.
Then follow the same steps. Petals at the left and right keep their full length. Petals at the back are shorter, and the ones at the front are shortest and widest because they point toward you. The stem now shows more clearly, emerging from under the front petals.
When you want a bigger, bolder flower built the same way, with a large center and pointed petals, move on to the sunflower tutorial.
Frequently asked questions
How many petals should I draw on a daisy?
For a drawing, sixteen petals in the front ring plus a handful of tips showing behind them looks full without being crowded. Real daisies vary from flower to flower, so there is no single correct number. What matters more is that the petals are narrow and evenly spread around the center.
Why does my daisy look lopsided?
The two circles probably do not share the same middle, or the petals were drawn one after another around the ring. Check that the gap between the circles is equal all the way around, then place petals at the top, bottom and sides first and fill the spaces between them.
Can I add color to a pencil daisy?
Yes. A light layer of yellow colored pencil over the dotted center is enough to make the flower read as a daisy, and the white petals can stay as bare paper. Add color after you have erased the guides, and keep it pale so the pencil lines still show through.