How to Draw Flower Centers: Discs, Stamens and Seed Pods
Replace the blank circle in the middle of your flowers. Learn to place the center, then draw four kinds: a domed dotted disc, a poppy seed pod with stamens, long lily stamens and a blossom cluster.
Tutorial at a glance
What you need
- HB pencil
- 2B pencil
- 4B pencil
- Pencil sharpener
- Kneaded eraser
- Sketchbook or drawing paper
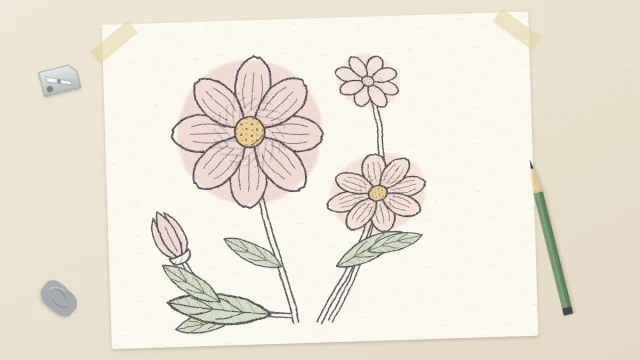
The middle of a flower is where a lot of drawings give up. The petals get care and attention, and the center gets a blank circle or a quick scribble. Yet the center is what tells the viewer which flower it is and which way it faces.
Learning how to draw flower centers comes down to two things: putting the center in the right spot, and choosing the right kind of mark. Four types cover most flowers you will sketch, and each starts from a light construction shape.
Find the spot before you draw anything
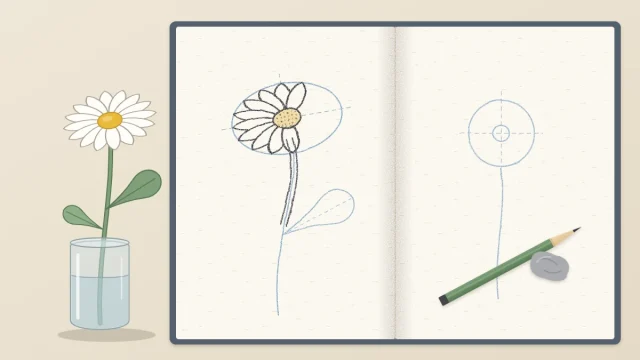
Every petal has a center line running from its tip to its base. Extend those lines inward with an HB pencil, pressing very lightly, and they meet at one point. That meeting point is the middle of the flower’s center.
Around that point, draw the construction shape for the center: a small light circle when the flower faces you. Size it against the petals. A daisy center is about as wide as one petal is long, or a little less. A sunflower center is much larger, and a blossom center is tiny.
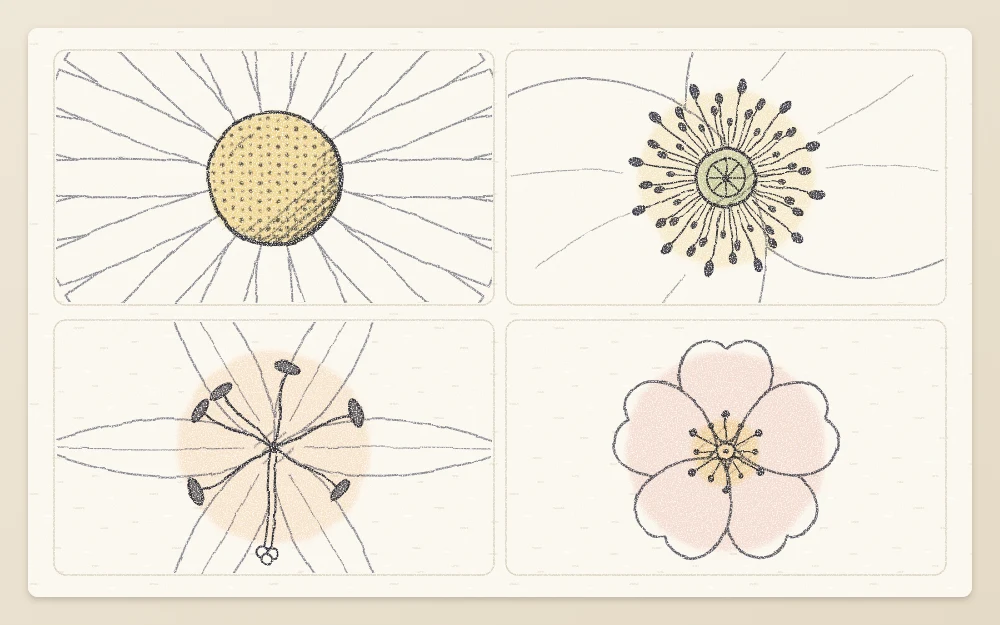
The four kinds of center below all start from this one small circle.
The domed disc of a daisy or sunflower
A daisy’s center is a disc packed with tiny florets, slightly raised like a button. The aim is to make a flat circle look like a low dome, then give it texture.
- Circle. Keep your light HB circle. Decide where the light comes from, for example the upper left.
- Shadow curve. On the side away from the light, draw a light crescent just inside the circle, running about a third of the way around. It should be widest in the middle, about a fifth of the circle’s width, and taper to nothing at both ends.
- Soft tone. Fill the crescent with light 2B hatching. The disc should already look raised.
- Dots. With a sharp 2B, tap small dots over the whole disc. Pack them tightly in the crescent so they almost touch, space them out toward the middle, and leave only a scattered few on the lit side.
- Edge. Add a row of slightly larger dots around the rim, darker on the shadow side, and erase the original circle where it still shows on the lit side.
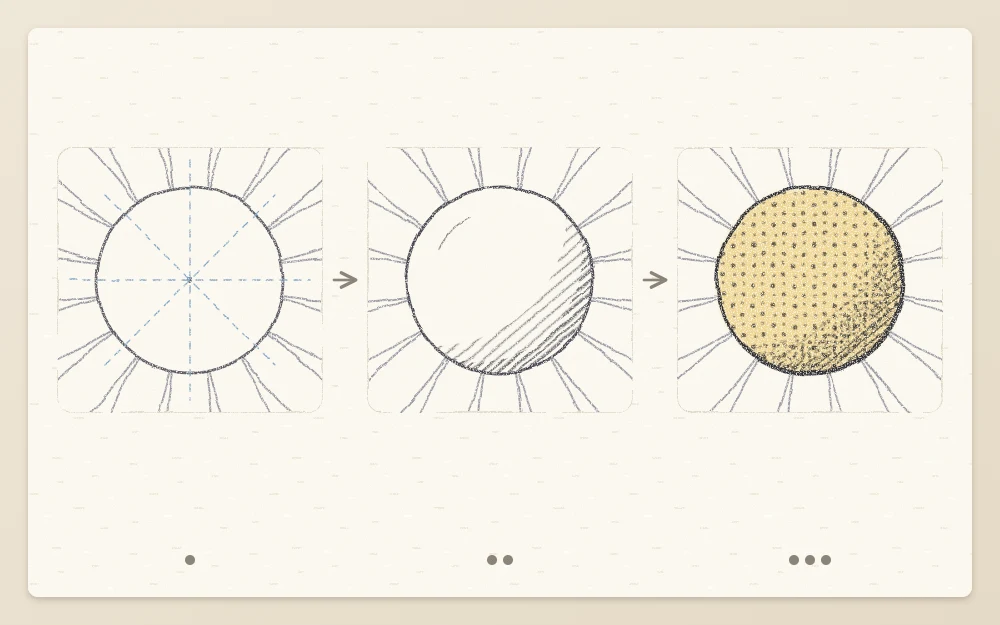
For the complete flower around this center, follow the step-by-step daisy tutorial. A sunflower uses the same dome on a larger scale, with a darker ring partway in from the edge.
The seed pod and stamens of a poppy
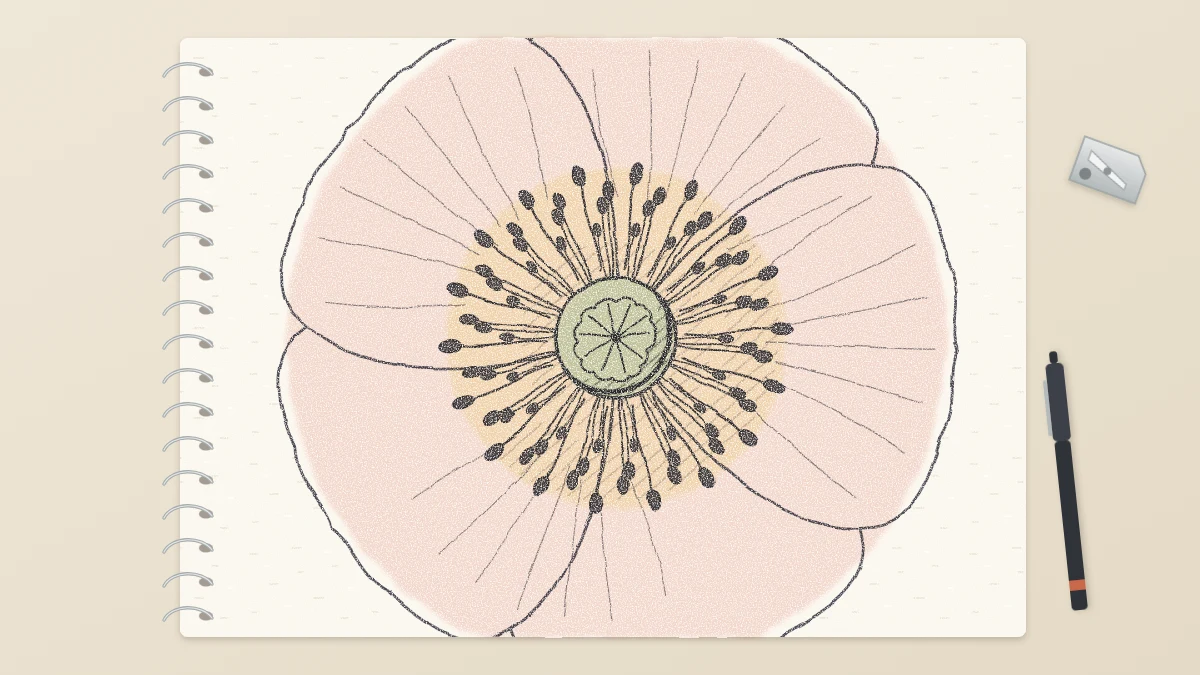
A poppy has a round seed pod in the middle with a ribbed cap, ringed by many fine stamens.
- Pod. Inside your light center circle, draw a smaller circle with a 2B, about half as wide. This is the cap of the seed pod seen from above.
- Ribs. Mark a dot in the middle of the cap and draw eight to ten short lines from it to the edge, like spokes. Press lightly; they are ridges, not outlines.
- Stamens. From just outside the pod, flick short, thin strokes outward to the edge of the original center circle, lifting off at the end of each. Vary their lengths.
- Tips. End every second or third stroke with a tiny dot. Draw a second, shorter row in the gaps so the ring looks dense.
- Depth. Darken the narrow band where the stamens meet the pod with a 4B. That shadow lifts the pod above them.
The petals, bud and stem are covered in the tutorial on drawing a poppy with papery petals.
The long stamens of a lily
A lily has six long stamens with oval tips and one longer pistil in the middle, all rising out of the throat of the flower. Because they are long, they are drawn as curved lines instead of texture.
- Throat. Mark the center point lightly. All the stalks start from here.
- Pistil. Draw one gently curved line from the point outward, about two thirds the length of a petal. Finish it with a small rounded knob.
- Stamens. Draw six more curved lines from the same point, fanning out around the pistil and each a little shorter than it. Curve them all the same general way, as if they lean toward the light.
- Tips. At the end of each stamen, draw a narrow oval set crosswise on the stalk, like the top of a letter T. Each oval is about a sixth of the stalk’s length.
- Finish. Go over each stalk with a second line very close to the first so it has thickness, and shade the ovals dark with a 2B.
The full flower is in the guide to drawing a lily with six petals.
The stamen cluster of a five-petal blossom
Small five-petal blossoms, such as cherry blossoms, have the simplest center of all: a tiny point with a spray of short stamens.
- Draw a very small circle at the meeting point of the petals, about a tenth of the flower’s width.
- From its edge, flick ten to fifteen short, fine lines outward. Keep them shorter than half a petal.
- Put a small dot on the end of each line.
- Darken the tiny circle itself so the lines appear to come out of a shadow.
Centers on a tilted flower
When a flower turns away from you, its circular guide becomes an ellipse, and the center follows. Draw the center as a small ellipse with the same tilt and the same proportions as the large one.
On a daisy-type flower, place that small ellipse slightly behind the middle of the large one, toward the far side. The petals at the front and back are both foreshortened, but the raised dome also covers the bases of the back ones, so the center appears to sit a little toward the back.
Stamens change too. Those pointing toward you are foreshortened, so draw them shorter. Those at the sides keep their full length.
Common problems
- The center looks like a hole. It is evenly dark. Keep the lit side light and the dots sparse there.
- The center looks pasted on. Add a thin shadow where the petals meet it, darkest on the shadow side.
- Stamens look like a spiky star. They are too straight and too equal. Curve them and change their lengths.
- The petals do not line up. Recheck that every petal center line passes through the middle of the center.
Frequently asked questions
How big should the center of a flower be?
It depends on the flower, so compare it with a petal. On a daisy the center is roughly as wide as one petal is long, or slightly less. A sunflower center takes up a third to half of the whole flower head, and a small blossom has a center that is only a dot.
Do I have to draw every stamen?
No. A convincing ring needs far fewer strokes than the real flower has. Draw enough fine lines to suggest a dense fringe, vary their lengths, and add dots to only some of the tips. The darker shadow at the base of the stamens does more work than the number of lines.
Why does my flower center look flat?
Usually because the texture is spread evenly across it. A raised center needs a light side and a shadow side. Pack the dots or marks closely on the side away from the light, thin them out toward the lit side, and add a thin shadow where the petals meet the center.