Flower Line Drawing: Clean Contours and Line Weight
Turn a rough flower sketch into a crisp line drawing: one stroke per edge, clear overlaps, thicker lines in shadow, thin and broken lines in light, and an optional ink pass.
Tutorial at a glance
What you need
- HB pencil
- 2B pencil
- Kneaded eraser
- Pencil sharpener
- Smooth drawing paper
- Fineliner pen (optional)
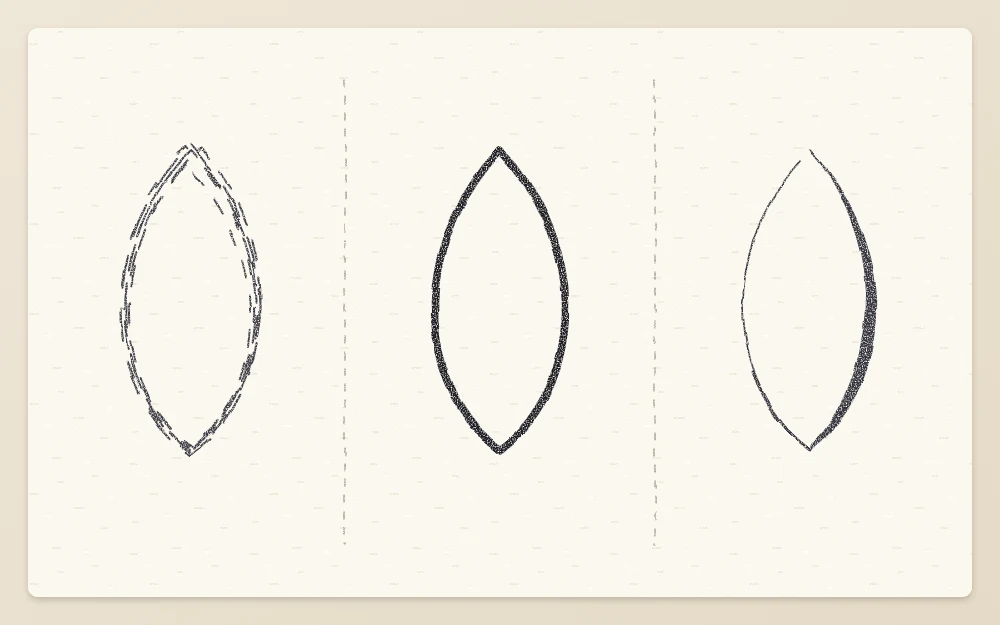
A good sketch can still look fuzzy. The shapes are right, but the edges are built from dozens of short overlapping marks, and the result reads as hairy rather than crisp. A clean flower line drawing comes from a different way of putting the final lines down, not from a steadier hand alone.
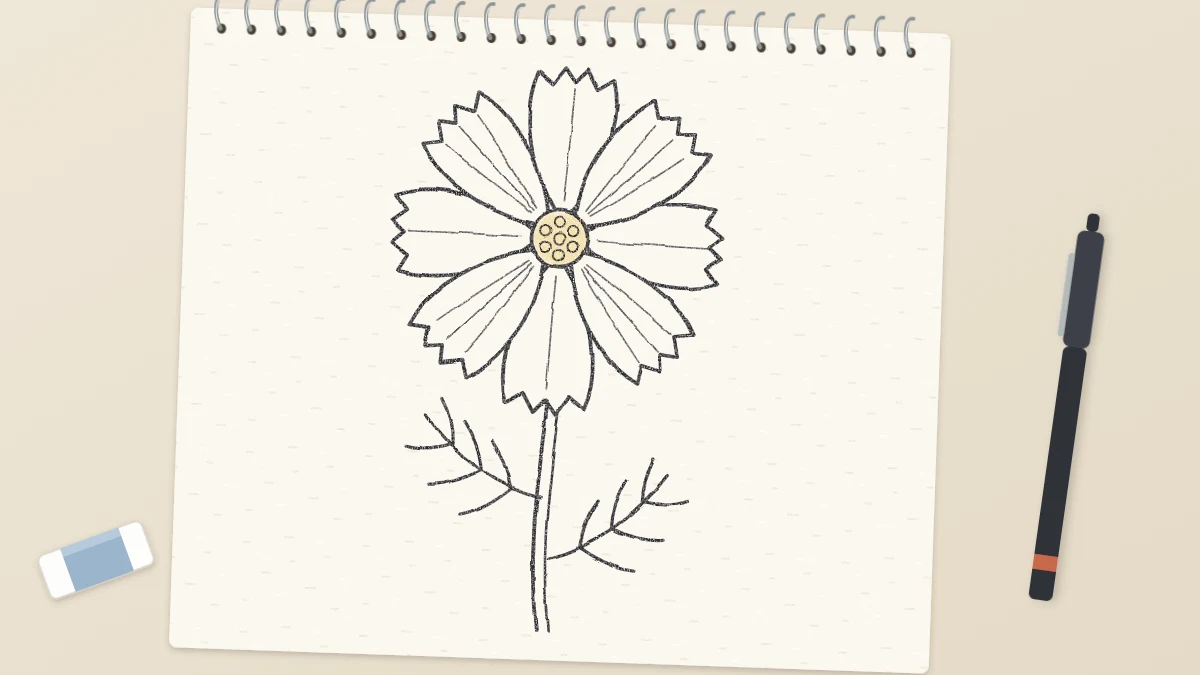
This tutorial takes a light sketch of a simple five-petal flower and turns it into a finished contour with varied line weight. The same steps work on any flower you have already sketched.
Why lines turn scratchy
Short, repeated strokes are a way of searching for an edge. That is useful while you are finding the shape and unhelpful once you have found it, because every guess stays visible.
The answer is to separate the two jobs. Search lightly with an HB pencil. Then, when the shape is settled, state each edge once with a 2B pencil. If long single strokes feel out of reach, a few minutes of pencil control exercises for curves and pressure beforehand usually makes them easier.
Step 1: Start from a light sketch
With an HB pencil and very light pressure, set up the flower.
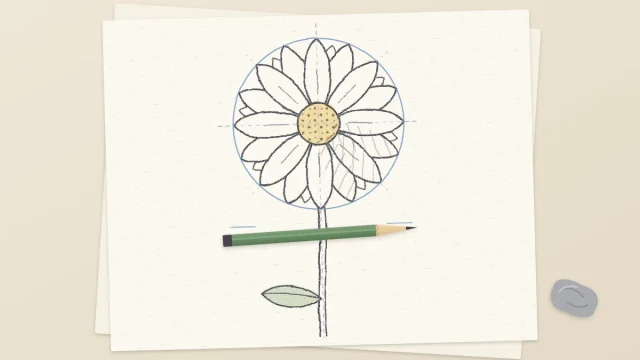
- Draw a guide circle about 3 in (8 cm) across. Inside it, at the middle, draw a center circle about one fifth as wide.
- Draw five faint spokes from the center circle to the guide circle, evenly spaced 72 degrees apart, with the first pointing straight up. Each spoke is the center line of a petal.
- Around each spoke, sketch a rounded petal that starts narrow at the center circle, widens to its fullest about two thirds of the way out, and ends in a rounded tip touching the guide circle. Make each petal wide enough that it overlaps its neighbors slightly near the base.
Scratchy lines are fine at this stage. Keep them pale.
Step 2: Draw through the overlaps, then choose
Where two petals overlap, lightly complete both outlines, as if the petals were made of glass. Drawing through keeps each petal’s shape believable instead of bending it to avoid its neighbor.
Now decide which petal is in front at each overlap. A simple, consistent rule works well: going clockwise, let each petal sit on top of the next one. Whatever you choose, the front petal keeps its whole edge, and the hidden part of the back petal’s edge will not be redrawn. Press a kneaded eraser over the hidden parts to fade them so you do not ink or darken them by accident.
Step 3: One stroke per edge
Switch to a sharp 2B pencil. Each petal has two edges, a left and a right, that meet at the tip. Draw each edge as a single stroke.
- Place the pencil point where the petal leaves the center circle.
- Rehearse the stroke once in the air just above the sketch line, from the base to the tip.
- Draw it in one smooth movement at medium pressure, moving from the elbow and looking slightly ahead of the pencil point rather than at it.
- Do the same for the other edge, and join the two at the tip.
Turn the paper freely so every stroke travels in a comfortable direction, and do not go back over a line to repair it.
Step 4: Vary the line weight
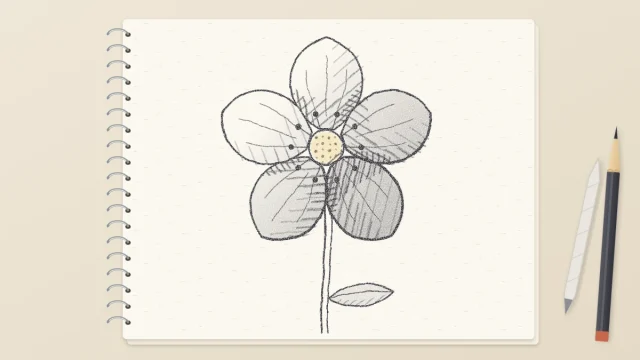
Line weight is how thick and dark a line is. Changing it along the contour suggests light and depth without any shading. First pick a light direction, for example from the upper left, and keep to it for the whole drawing.
- Thicker on the shadow side. With light from the upper left, the lower and right-hand edges of each petal face away from it. Go along those edges with firmer pressure, or widen the line slightly with a second stroke laid right beside the first on the outer side.
- Thicker under overlaps. Where a front petal crosses a back one, darken the short stretch of the front petal’s edge at the crossing. It reads as a small cast shadow and separates the two layers.
- Thin on delicate edges. Edges facing the light, here the upper and left ones, stay as thin as your sharp point allows.
- Broken at the brightest points. On one or two petal tips facing the light, lift the pencil for a small gap, no longer than the width of the center circle. The eye fills in the missing piece and reads it as light hitting the edge.
Keep the thickest line no more than about three times as wide as the thinnest. Finish the center with a thin circle that is a little heavier on its shadow side, and add one short thin line from the center up each petal, about a third of the petal’s length.
Step 5: Clear the sketch
Press a kneaded eraser gently over the whole drawing and lift it straight up. Repeat until the guide circle, the spokes and the pale searching lines are gone. The 2B contour will lighten a little but stay in place. Restate any section that has faded too far, again with one stroke.
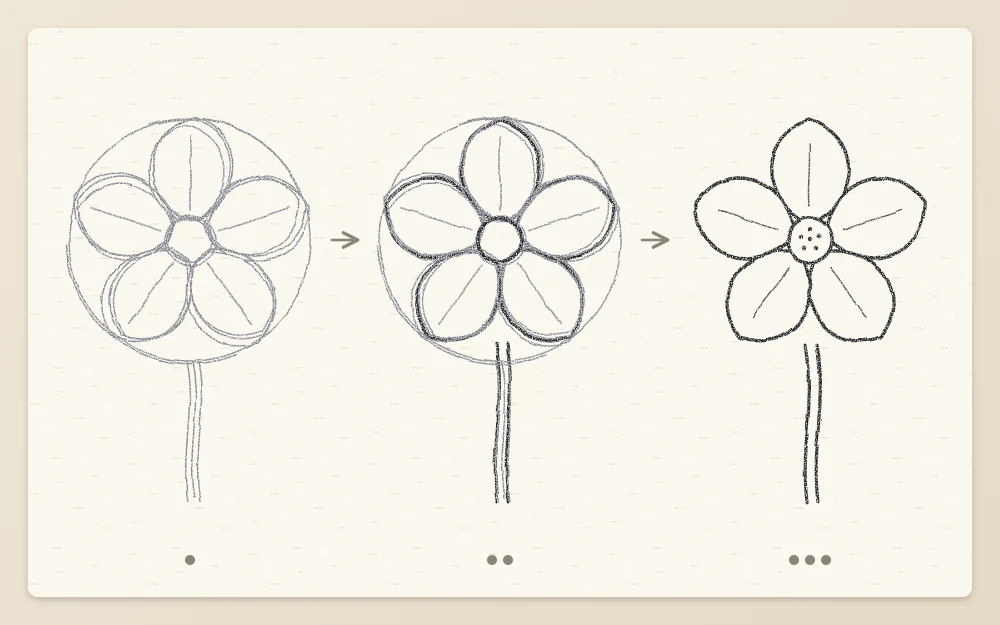
The finished drawing can stand alone, or serve as the base for tone if you go on to shade the petals in pencil.
Optional: a final pass with a fineliner pen
Ink gives the darkest, crispest line and cannot be erased, so do it only when the pencil drawing is settled. Use the pen before Step 5, while the pencil lines are still there to follow.
- Follow the same rules: one stroke per edge, drawn at a steady speed.
- A fineliner makes a line of one width, so build weight on shadow sides and under overlaps by adding a second line directly against the first.
- Leave the same small gaps at the brightest tips.
- Let the ink dry completely. Give it a few minutes, then touch a spare corner of a line lightly to check. Only then erase the pencil with a kneaded or white vinyl eraser.
Common problems and variations
- Everything came out heavy. Start with the thinnest line everywhere, then add weight only where the rules above call for it.
- Try contour only. Draw the flower from life with no shading at all and let line weight do the work. This approach is known as contour drawing.
- Carry it to the foliage. Stems and leaves follow the same rules, with a heavier line on the underside. The guide to drawing leaves with veins and edges shows where those lines go.
Frequently asked questions
How do I stop my outlines from looking hairy?
Hairy outlines come from building an edge out of many short strokes. Keep those searching strokes very light with an HB pencil, then draw each final edge once with a 2B pencil in a single smooth movement. Rehearsing the stroke above the paper first and turning the page to a comfortable angle both help.
Where should lines be thicker in a flower drawing?
Make lines thicker on the side of each petal that faces away from your chosen light direction, and at the spots where one petal crosses in front of another. Keep edges that face the light thin, and leave an occasional small gap at the brightest petal tips.
Do I have to ink a line drawing with a pen?
No. A sharp 2B pencil gives a clean, dark contour that can still be adjusted, which is helpful while learning. A fineliner pen is an optional last step for a bolder look. If you use one, wait until the ink is completely dry before erasing the pencil underneath.