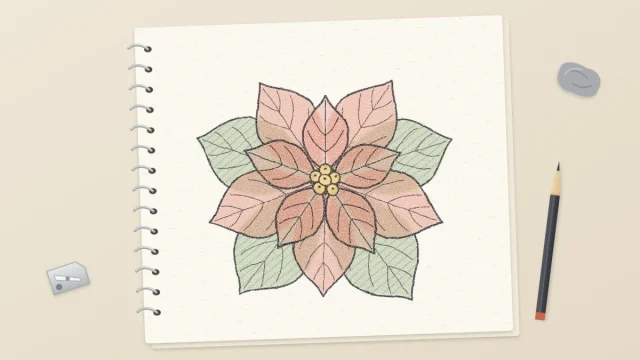
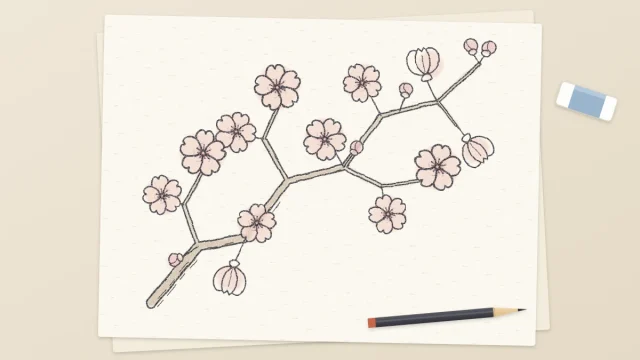
How to Draw a Lily: Six Petals and Long Stamens
Build a lily from a cone and a six-pointed star guide, draw three petals and then three more behind, and finish with curled tips, long stamens and lance-shaped leaves.
Tutorial at a glance
What you need
- HB pencil
- 2B pencil
- 4B pencil
- Kneaded eraser
- Pencil sharpener
- Sketchbook or drawing paper
A lily is a step up from flat, open-faced flowers. Its petals are long, they curve backward at the tips, and some of them point toward you, so the drawing asks you to think in three dimensions. The reward is one of the most dramatic blooms in a sketchbook.
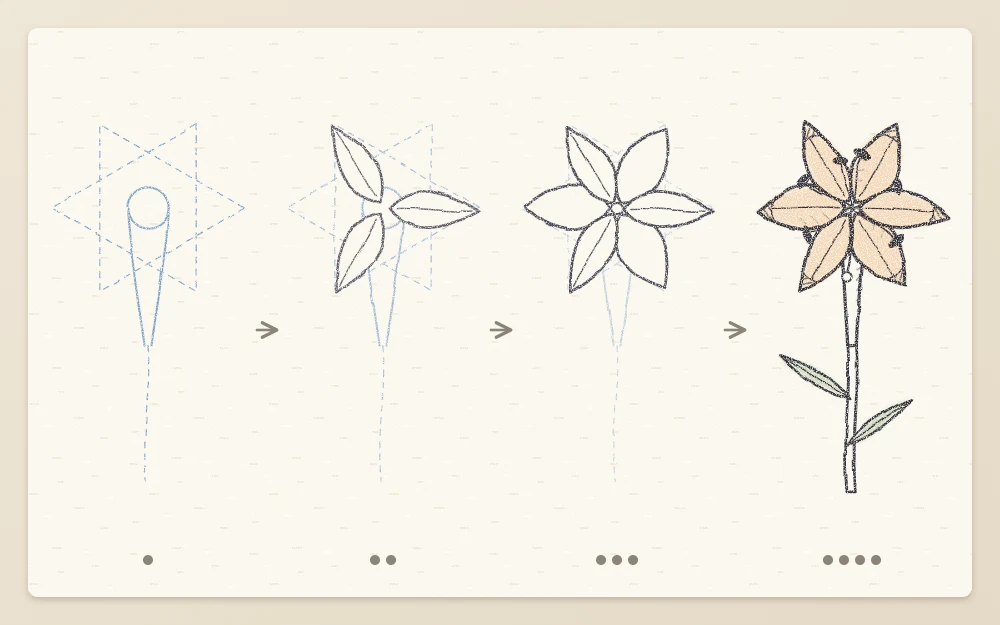
The approach here for how to draw a lily keeps that depth under control with two construction shapes: a cone for the throat of the flower and a six-pointed star at its mouth. The petals then go on in two rounds of three.
The structure in brief
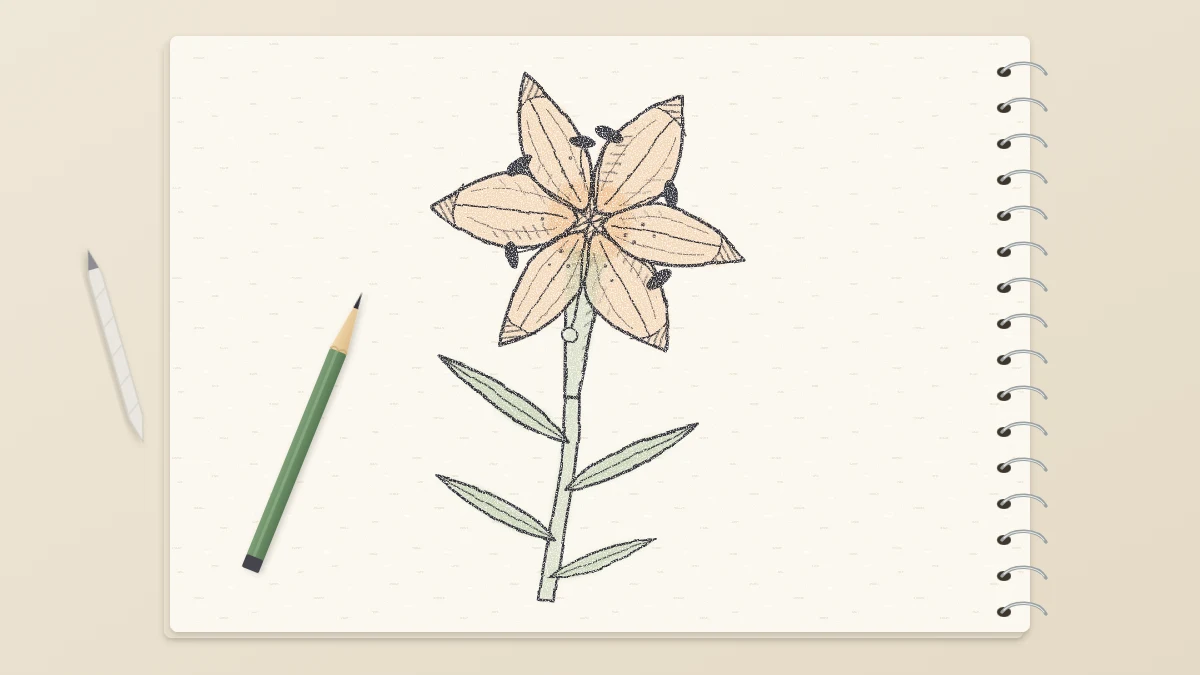
A lily has six petal-like segments. Three sit slightly in front and three sit slightly behind, filling the gaps. All six join at the base into a narrow funnel, and from that throat come six long stamens with oval tips and one longer central pistil.
The leaves are lance-shaped, long and narrow with a pointed tip, and they alternate up a sturdy stem rather than growing in pairs.
Step 1: the cone and the star guide
- With an HB pencil and light pressure, draw an ellipse about 2 in (5 cm) wide and two-thirds as tall. This is the mouth of the trumpet, turned slightly toward you.
- From the left and right ends of the ellipse, draw two lines that slant down and inward to meet at a point below the ellipse and a little to the left, about one and a half ellipse-widths away. This is the cone. Its point is where the stem will join.
- Mark the center of the ellipse with a dot. Then mark six points around its edge, placed like the even hours on a clock face: 12, 2, 4, 6, 8 and 10.
- From the center dot, draw a light line through each mark and continue it beyond the ellipse. Make the 12, 2 and 10 o’clock lines about one and a half ellipse-widths long from the center. Make the 4 and 8 o’clock lines a little shorter and the 6 o’clock line only about one ellipse-width, because it points toward you.
Those six lines are the center veins of the petals. Together they form the six-pointed star guide.
Step 2: the first three petals
Draw the petals on alternate points first: 12, 4 and 8 o’clock. Each petal is a long, pointed oval built around its center line.
- Start at the rim of the ellipse, a little to one side of the center line. Draw an edge that swells outward until, about halfway along, the petal is roughly one-third as wide as it is long, then narrows to a point at the end of the guide line.
- Mirror that edge on the other side of the center line and bring it back to the rim.
- Curl the tip back: just before the point, bend both edges so the last fifth of the petal turns downward and away, and add a small curved line across the petal where it folds.
Step 3: three more petals behind
The petals at 2, 6 and 10 o’clock go in the gaps. Build each one the same way, but start its edges where they emerge from behind the first three petals, not at the rim. Only the outer two-thirds of each will show.
The 6 o’clock petal points toward the viewer, so it is foreshortened: draw it shorter and wider than the others, with a tip that curls up and back toward the flower. That one petal does most to make the bloom look three-dimensional.
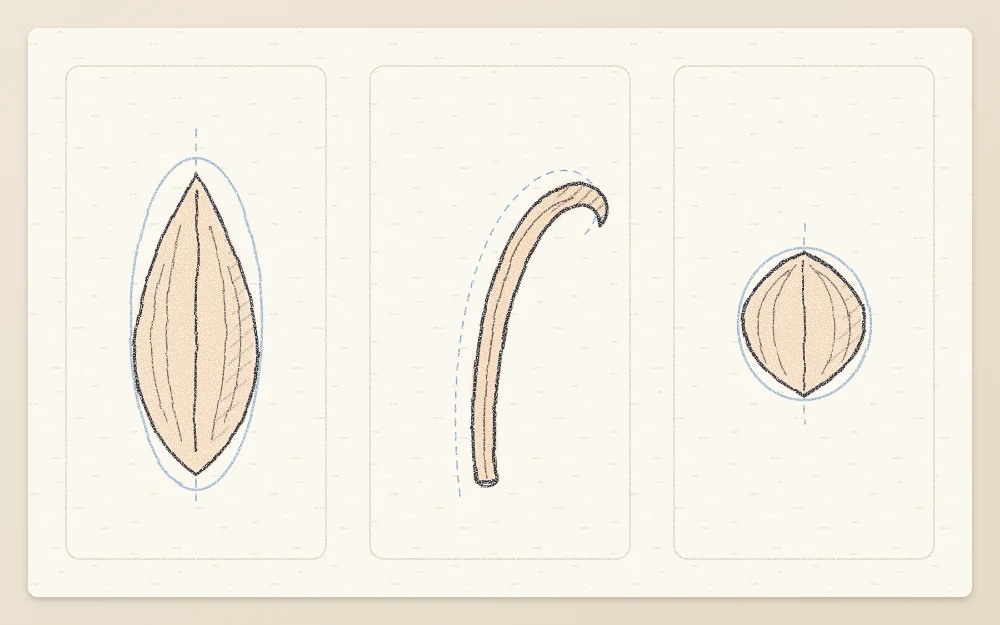
For more practice turning a flat petal in space, see how to draw petals from different angles.
Common mistake
Drawing all six petals the same length. From any angle except straight on, the petals pointing toward and away from you look shorter than those at the sides.
Step 4: stamens and pistil
- From the center dot, draw six fine curved lines fanning outward and slightly upward, each about two-thirds as long as a side petal. Let them spread unevenly, like fingers of a relaxed hand.
- Cap each one with a small oval tip set crosswise on the line, like the top of a letter T.
- Draw the pistil from the same point: one line a little longer than the stamens, slightly thicker, ending in a small rounded knob instead of an oval.
Where a stamen crosses a petal edge, keep the stamen line and break the petal line. The guide to flower centers, stamens and pistils shows other ways to handle this area.
Step 5: stem, leaves and final lines
From the point of the cone, draw the stem downward as two parallel lines about a quarter as far apart as the ellipse is wide. Give it a slight lean.
Add four or five lance-shaped leaves, alternating left and right as you move down the stem. Each is about as long as a side petal and one-fifth as wide, with a single midrib from base to tip. Angle them upward and let one bend over at the tip. If you want a leaf that twists, the tutorial on drawing curled and folded leaves explains the fold.
Now switch to a 2B pencil. Redraw each petal contour, pressing harder where a back petal disappears behind a front one and under each curled tip. Strengthen the center vein of each petal as a single line that fades before the tip. Lift the cone, ellipse and star guides with a kneaded eraser.
For shading, add a little value inside the throat and under the curled tips with the 2B, then use a 4B for the oval stamen tips only. Small spots near the throat are optional: a loose scatter of tiny dots on the inner third of each petal, denser toward the center.
Common problems and variations
- The flower looks flat: the mouth ellipse is too round or the front petal is too long. Flatten the ellipse and shorten the 6 o’clock petal.
- The petals look like a pinwheel: they are evenly lit and evenly overlapped. Tuck the back three clearly behind the front three.
- The stamens look stiff: they are straight and equal. Curve them and vary their lengths.
For a variation, add an unopened bud on a side stalk: a long, narrow oval about as long as a petal, with two or three lines running its length. Expect a few attempts before the curled tips sit right; results vary with practice.
Frequently asked questions
Why draw three lily petals first and then three more?
A lily's six petal-like segments sit in two sets of three, one slightly in front of the other. Drawing the front set first fixes the overlaps, so the second set can simply be tucked behind in the gaps. It also keeps the spacing even without measuring.
How do you draw a lily petal that points toward you?
Make it shorter but keep its width. That is foreshortening: a form pointing at the viewer looks compressed along its length. Let the tip curl up and back, and overlap the base of the petal with the throat so it clearly sits in front.
Is a lily too hard for a beginner?
It is an intermediate subject, mainly because of the curled tips and foreshortened petals. A beginner can still draw it by keeping the cone and star guide light and following the petal order. Starting with a simpler open flower first usually makes the lily easier.