Pencil Control Exercises for Drawing Flowers
A ten-minute warm-up of lines, curves, ellipses, pressure ramps and tapered strokes that steadies your hand, with each exercise matched to petals, stems and leaf edges.
Tutorial at a glance
What you need
- HB pencil
- 2B pencil (optional)
- Pencil sharpener
- Scrap paper or a sketchbook page
Wobbly lines and marks that come out darker than you meant are control problems, and control can be trained. A short set of pencil control exercises before each drawing loosens the arm and steadies the pressure, in the same way a musician plays scales before a piece.
The routine below takes about ten minutes and uses one sheet of paper. Each exercise is tied to a part of a flower, so nothing here is abstract: the strokes you warm up with are the strokes you will use on petals, stems and leaf edges.
Set up: paper, pencil and two grips
Use an HB pencil with a sharp point and any inexpensive paper, since this sheet is for practice only. If you are still choosing tools, the guide to pencils, paper and erasers covers the basics. Sit so the page is straight in front of you and your whole forearm can rest on the table.
You will switch between two ways of holding the pencil.
- Writing grip. Hold the pencil as you do for handwriting, but about 1 in (2.5 cm) back from the tip. The fingers and wrist guide the stroke. It gives precision over short distances and suits details such as veins and petal tips.
- Overhand grip. Lay the pencil across your fingers with your palm facing down and steady it with your thumb, holding it near the middle. The pencil lies at a low angle to the paper and the shoulder and elbow move the stroke. It gives long, smooth curves with light pressure and suits construction shapes and stems.
The ten-minute warm-up
Spend roughly a minute and a half on each exercise. Keep the pressure light unless a step says otherwise, and draw each stroke once without going back over it.
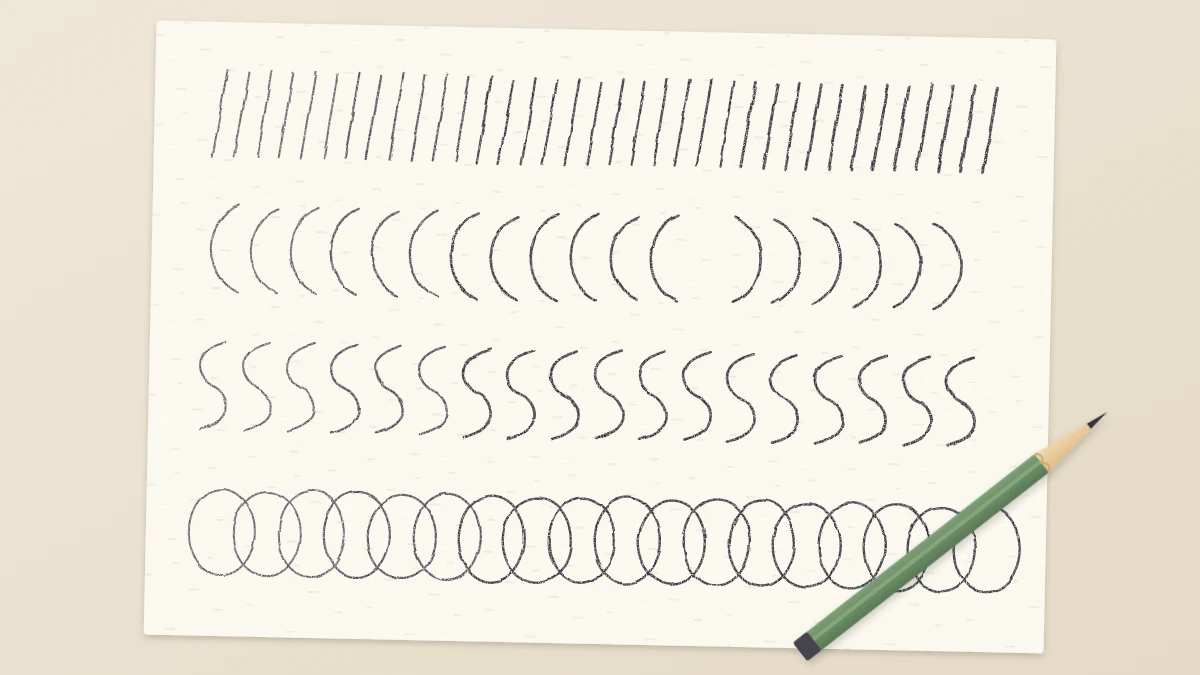
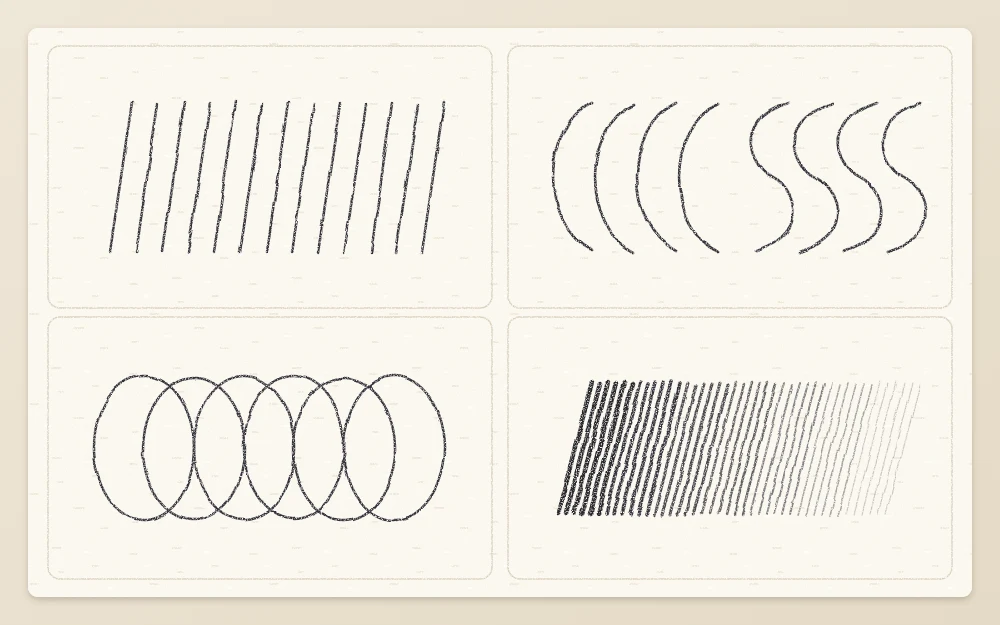
- Parallel straight lines. Using the overhand grip, draw a row of straight lines each about 3 in (8 cm) long and a pencil-width apart. Fix your eye on the point where the line will end and move your whole arm toward it in one pass. Fill one row from left to right, one top to bottom and one on a diagonal.
- C-curves. Draw a row of shallow arcs, each about the same length as your straight lines, bulging to the left like the letter C. Start at the top, swing out no farther than a quarter of the stroke’s length, and finish directly below the start. Then draw a row that bulges to the right.
- S-curves. Draw a stroke that bends one way for its first half and the other way for its second half, in one continuous movement from the shoulder. Keep both bends equal and gentle. Draw a row of them, then a row of mirror images.
- Rows of ellipses. Draw two light parallel lines about 1 in (2.5 cm) apart as a track. Fill the track with ellipses that touch both lines and overlap their neighbors by about a third. Circle each one twice without lifting the pencil. Make a second row of narrower ellipses.
- Pressure ramps. Switch to the writing grip. Draw a band of close diagonal hatching about 4 in (10 cm) long. Begin with the lightest touch you can manage, press gradually harder until the middle of the band is as dark as the HB will go, then ease off evenly until the marks fade out again.
- Tapered petal strokes. Draw a curved stroke about 2 in (5 cm) long that starts with firm pressure and lifts off the paper as it travels, so the line thins to nothing at the end. Think of a plane taking off. Draw a row curving left and a row curving right.
- Loops. Draw a continuous chain of loops across the page, like a row of joined handwriting letters, keeping each loop the same height and width. Do a second row with taller, narrower loops.
How each exercise maps to a flower
| Exercise | Where you use it |
|---|---|
| Parallel lines | Even hatching for shading; the two edges of a stem |
| C-curves | Petal edges, cup-shaped flower outlines, leaf sides |
| S-curves | Stems, midribs, twisting leaves, wavy petal edges |
| Ellipses | Guides for tilted flowers, flower centers, cup rims |
| Pressure ramps | Light construction lines, gradual shading, line weight |
| Tapered strokes | Petal tips, veins, grass and narrow leaves |
| Loops | Small buds, ruffled edges, an even working rhythm |
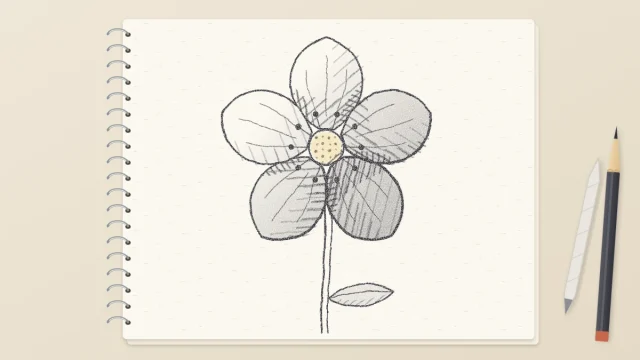
The pressure ramp deserves special attention. Choosing how dark a line is keeps guide lines easy to erase and finished lines lively, and that skill is used throughout the guide to clean contours and varied line weight.
From stroke to petal
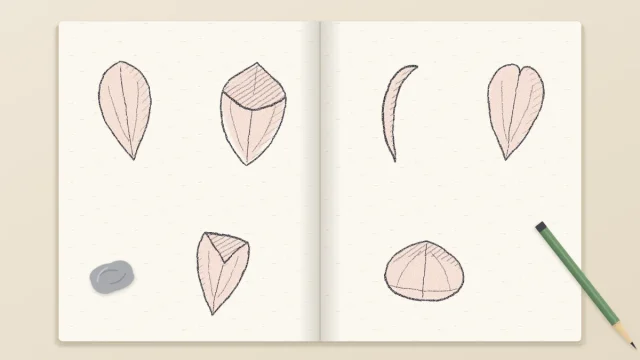
This last step turns the tapered stroke into a flower part, so the warm-up ends with something recognizable.
- One tapered curve. With the writing grip, draw a single curved stroke about 2 in (5 cm) long, bulging to the left, firm at the bottom and lifting off at the top.
- Its mirror image. Start at the same bottom point and draw a second stroke of the same length that bulges to the right and ends where the first one ended. The two strokes meet at a point at the top and enclose a petal. At its widest, the petal should be about a third as wide as it is long.
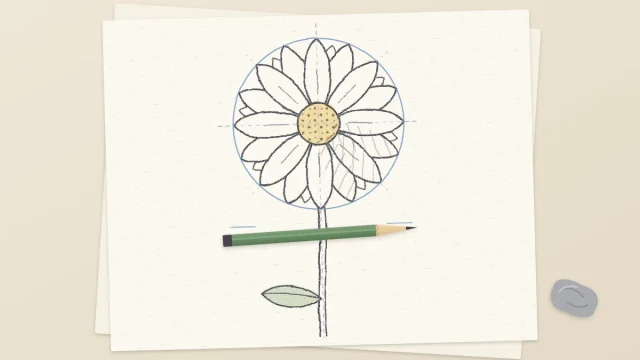
- Five petals around a dot. Mark a small center dot. Draw five light spokes from it, evenly spaced 72 degrees apart, each as long as your petal. Build one petal on each spoke with the same two mirrored strokes, base toward the dot and tip pointing outward.
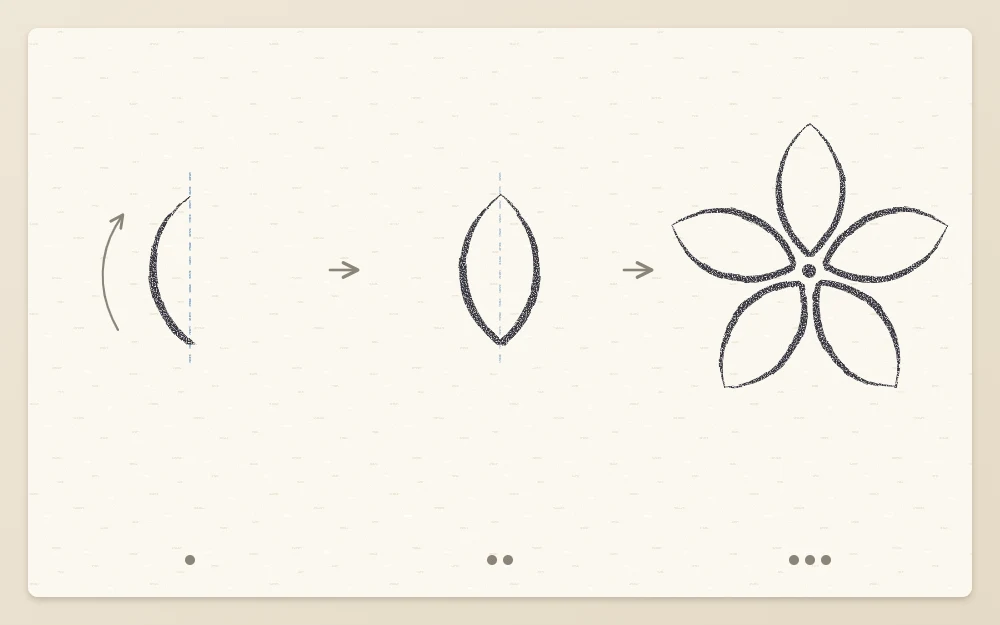
That is a complete flower made from one practiced stroke. Petals that cup, curl and overlap build on the same movement, and the article on drawing petals in different poses takes it from there.
Common problems
- Lines wobble. You are probably drawing slowly from the fingers. Speed up slightly and move from the shoulder. A quicker stroke is usually a smoother one.
- Lines curve when they should be straight. The wrist is pivoting. Lock it and let the elbow slide.
- Everything is too dark. Hold the pencil farther from the tip. Distance from the point reduces pressure almost by itself.
- Ellipses have flat sides or pointed ends. Rehearse the movement in the air first and keep the motion continuous through the narrow turns.
Making the warm-up a habit
Do the routine at the start of each session rather than as a separate task, and stop when the time is up. The aim is a looser arm, not a page of flawless rows.
How quickly lines improve varies from person to person and with how often you practice.
Frequently asked questions
Why are my drawing lines shaky?
Shaky lines usually come from drawing slowly with only the fingers while gripping the pencil tightly. Moving the stroke from the elbow and shoulder, loosening the grip and drawing a little faster generally smooths the line. Rehearsing the stroke in the air just above the paper before committing also helps.
Should I draw from the wrist or the shoulder?
Use both, for different jobs. The shoulder and elbow give long, smooth curves and straight lines, so they suit construction shapes and stems. The wrist and fingers give short, precise marks, so they suit veins, petal tips and small details. Warm-up exercises train you to switch between them.
How long before pencil control improves?
It varies with how often you practice. Many people notice lighter, smoother lines after a few short sessions, while even ellipses and smooth pressure changes tend to take longer. A brief warm-up before each drawing is usually more useful than one long practice session now and then.