How to Draw Wildflowers: A Simple Meadow Sketch
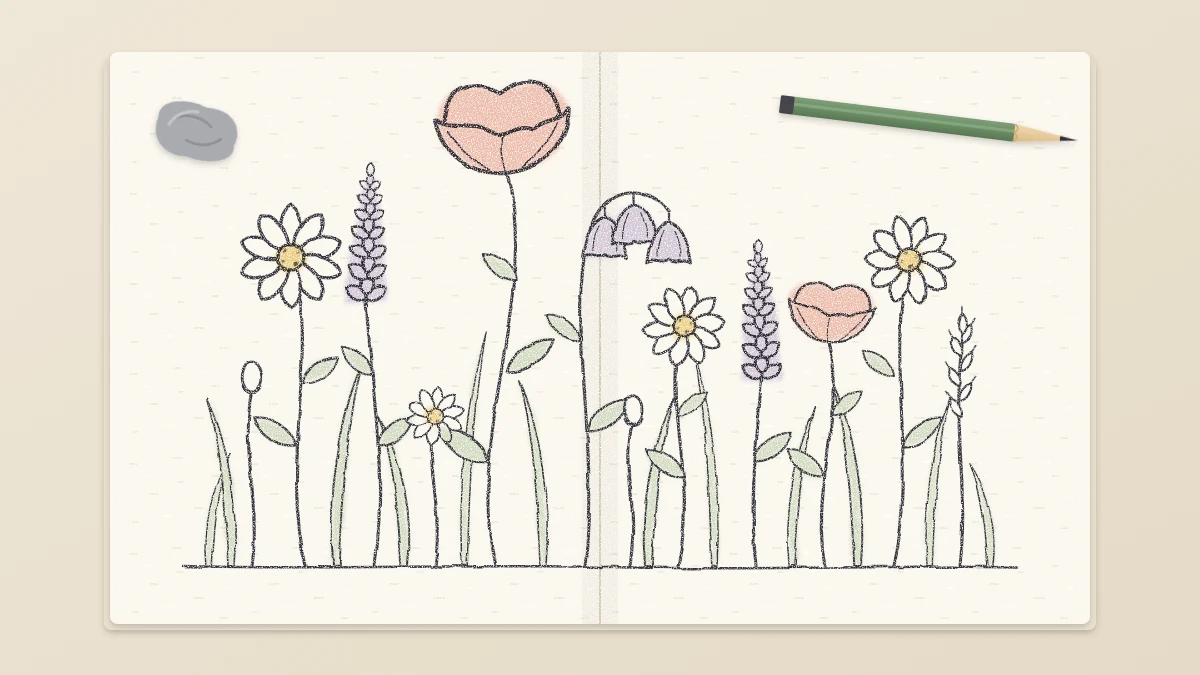
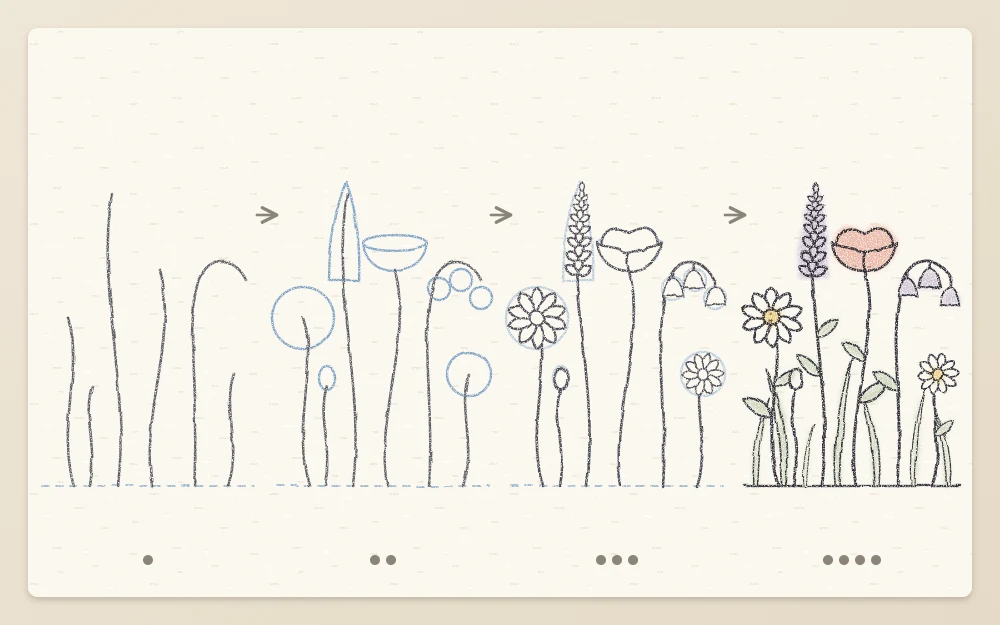
Plan a meadow strip with a ground line and stems of varied heights, mark the flower heads with simple shapes, then add daisies, a poppy, bells, spikes and long grass.
Tutorial at a glance
What you need
- HB pencil
- 2B pencil
- Kneaded eraser
- Pencil sharpener
- Sketchbook or drawing paper
A meadow is not a row of flower portraits. It is a tangle of stems at different heights, a few shapes repeated again and again, and plenty of grass in between. That is good news for a beginner, because the overall rhythm matters far more than any single bloom.
This guide to how to draw wildflowers treats the meadow as one strip across the page. You plan the stems first, mark the flower heads with simple construction shapes, and only then draw the flowers, keeping the detail in the middle and letting the edges fade.
Choose three or four flower types
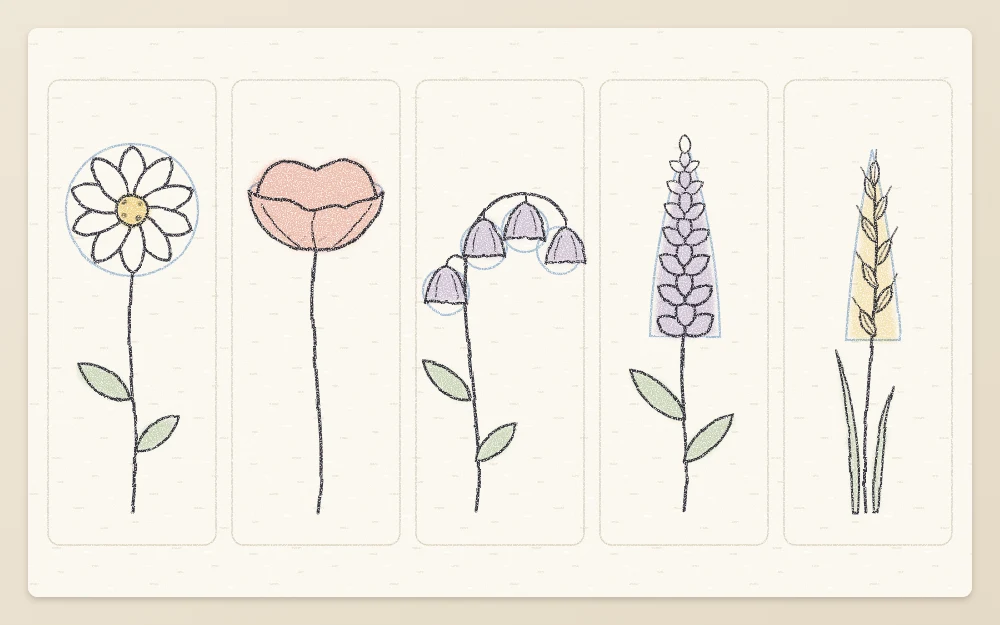
A convincing meadow needs variety in shape, not in species. Pick three or four simple types that look clearly different from one another, then repeat each one at several sizes.
| Type | Construction shape | Role in the sketch |
|---|---|---|
| Daisy shape | Small circle inside a larger circle or ellipse | Flat, open faces; repeat the most |
| Poppy | Shallow tilted bowl | One or two large accents |
| Bell-shaped flowers | Small cups hanging from an arched stem | Drooping curves |
| Spike flower | Narrow tapered guide on the top of a stem | Tall verticals |
Small round buds and grass seed heads act as fillers. If you sketch outdoors, draw the plants where they grow rather than picking them, or work from photos you took yourself.
Step 1: ground line and stems
- With an HB pencil and very light pressure, draw a ground line across the lower part of the page, about 8 in (20 cm) long. Let it rise and dip slightly instead of running dead level.
- Decide where the tallest flower goes and place its stem about one-third of the way in from the left or right end, never in the middle. Draw it as one curved line roughly half as tall as the ground line is long.
- Add eight to ten more stems. Make each a different height, from about a quarter to three-quarters of the tallest. Lean some left and some right, and give each a single gentle curve.
- Let at least three pairs of stems cross. Space them unevenly: two or three close together, then a gap, then another loose group.
Cover the drawing with your hand and look only at the stem tops. They should make an uneven, wavy skyline rather than a staircase or a flat hedge.
Step 2: mark the flower heads
Still with the HB pencil, put a construction shape on the top of each stem. Do not draw any petals yet.
- Daisy shapes: a circle about as wide as your thumbnail, with a small circle in its center. Tilt some by drawing an ellipse instead, since a tilted circle is an ellipse.
- Poppy: a shallow bowl, about one and a half times as wide as the largest daisy, on the tallest or second-tallest stem.
- Bell-shaped flowers: bend the top of the stem over in an arch and hang three or four small cups from it, the largest at the bottom.
- Spike flower: a narrow tapered guide covering the top third of its stem.
- Buds: small ovals, about a third the size of a daisy, on short side stems.
Use each type at least twice, at two different sizes. Smaller versions set lower on the page read as farther away.
Step 3: draw the flowers
Switch to a 2B pencil and work from the front of the meadow to the back, so that overlaps settle themselves: finish the flowers in front, then stop the lines of anything behind where it meets them.
- For each daisy shape, draw narrow petals from the small center circle out to the edge of the big one. On tilted heads, make the near and far petals shorter than the side ones. The full method is in the tutorial on drawing a daisy from two circles.
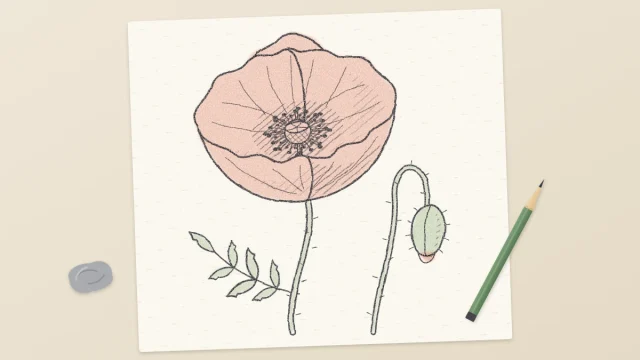
- Turn the bowl into a poppy with two broad front petals and two behind, all with wavy edges, around a small dark center. For the details, see how to draw a poppy with papery petals.
- Give each cup a slightly flared rim with three or four small points, and join it to the arched stem with a short, thin stalk.
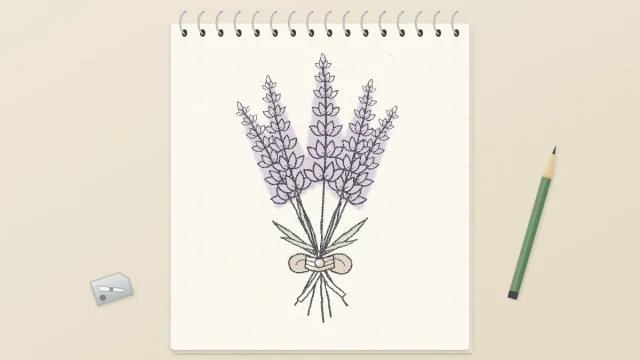
- Fill the spike guide with small teardrop marks in stacked rings, larger at the bottom and tiny at the tip, as in this lavender sprig tutorial.
Keep the flowers in the middle third of the strip the most complete. They carry the detail for the whole sketch.
Step 4: grass, leaves and fading edges
Grass ties the separate flowers into one meadow. With the 2B pencil, draw long grass blades as quick strokes that start at the ground line, press firmly, and lift off as they rise, so each one tapers to a fine tip. Vary their height and let several bend over and cross the flower stems.
Add two or three grass seed heads: a thin stem ending in a loose feather of short, angled dashes. Then add a few simple leaves low on the flower stems, mostly near the ground line where the growth is thickest.
Finally, fade the detail toward both ends of the strip. Draw the outer flowers with lighter pressure and fewer petals, let the last stems be single lines, and break the ground line into short dashes before it stops. Lift the remaining guides with a kneaded eraser.
Tip
Darken only the bases of the stems and the grass near the ground line. A darker bottom and a lighter, airier top make the strip feel rooted without any heavy shading.
Common problems
- It looks like a lineup: the stems are evenly spaced and upright. Cross more of them and group the heads in uneven clusters.
- It looks crowded: every flower has full detail. Simplify the ones at the back and edges to outlines.
- It looks symmetrical: the tallest flower has drifted to the center. Move the high point to one side and balance it with a lower cluster on the other.
- The flowers float: there is too little grass. Add more blades at the base so the stems disappear into it.
Placing a high point off-center and balancing it is a wider topic than one meadow strip. The guide to composing a flower drawing on the page goes further.
Frequently asked questions
How many different flowers should a meadow drawing include?
Three or four types is usually enough. More than that tends to look like a catalog instead of a meadow. Variety comes from repeating each type at different sizes, heights and angles, and from the grass and buds that fill the spaces between them.
Do the wildflowers need to be botanically exact?
Not for a loose meadow sketch. Clear, simple shapes such as a flat daisy face, a bowl, a hanging bell and a spike read as wildflowers without naming a species. If you want accuracy, sketch real plants where they grow or use photos you took yourself.
How do you stop a meadow sketch from looking messy?
Plan the stems before drawing any flowers, finish the front flowers first, and keep full detail only in the middle of the strip. Lighter, simpler shapes toward the edges give the eye a place to rest and make the crossing stems look intentional.