How to Draw Petals: Flat, Cupped, Curled and Overlapping
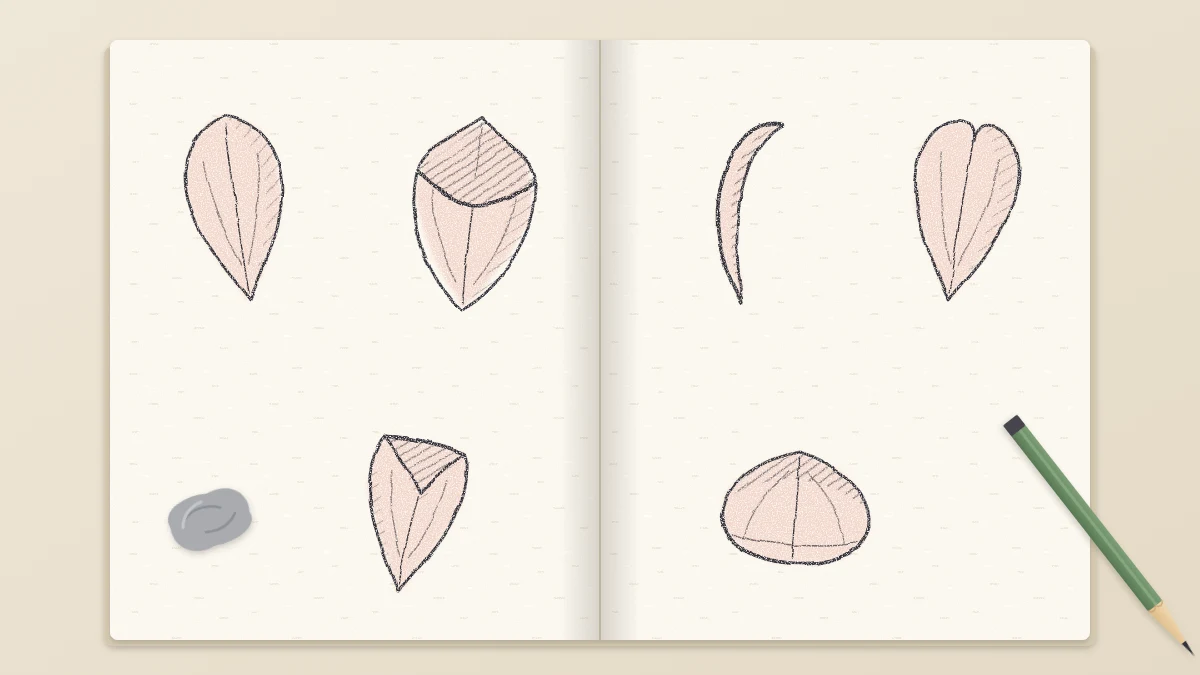
Four petal poses built on one idea, a simple outline on a center line: flat, cupped, curled at the tip and overlapping, plus foreshortened petals and three tip shapes.
Tutorial at a glance
What you need
- HB pencil
- 2B pencil
- Kneaded eraser
- Pencil sharpener
- Sketchbook or drawing paper
Most people can draw a petal lying flat: a teardrop, done. The trouble starts when the petal lifts off the page, cups toward you, rolls at the tip or slides behind its neighbor. Real flowers do all of those at once.
The good news about how to draw petals is that every one of those poses is built on the same two things: a simple outline and a center line. Bend the center line and the petal bends with it. This guide takes four cases in order, from flat to overlapping, plus the foreshortened petals that sit at the front and back of a flower.
Start With a Shape and a Center Line
A petal is a thin, flexible sheet, attached at a narrow base and widest somewhere past the middle. The center line runs from the base to the tip and shows which way that sheet is bending, a little like the spine of a leaf.
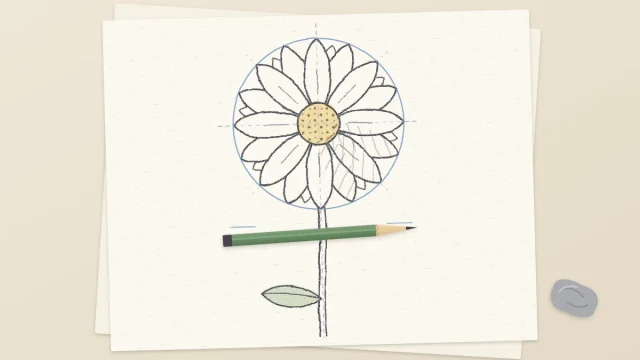
Draw the center line first, lightly, with an HB pencil, then hang the outline on it. Once you know which construction shape a flower is built on, its petals are simply these studies repeated around it.
Case 1: The Flat Petal
- Draw a straight, light center line about 2 in (5 cm) long, angled slightly on the page.
- Mark the widest point about two thirds of the way from the base to the tip. The petal’s full width there should be about half its length.
- From the base, draw one edge curving out to the widest point and back in to the tip. Repeat on the other side as a near mirror image.
- Round the tip. Keep the base narrow, about a fifth of the widest width.
Case 2: The Cupped Petal
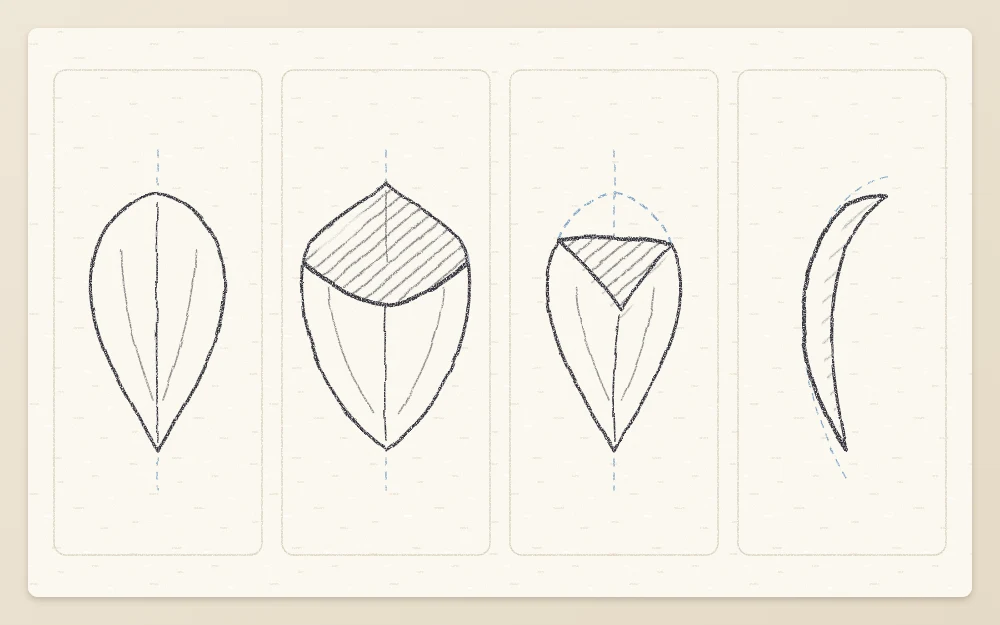
A cupped petal curves toward you like a shallow spoon, so you see its inner surface and a strip of the far edge.
- Draw the center line as a gentle C-curve instead of a straight line.
- Draw the near edge on the outside of that curve, bulging away from the center line as in the flat petal.
- Draw the other edge on the inside of the curve, but keep it much closer to the center line, about a third of the distance of the near edge. That side is turning away from you, so it looks narrower.
- At the tip, join the two edges with a short curved line that dips toward the base, like the rim of a spoon. The dip is what shows the hollow.
Case 3: The Curled Tip
When a tip folds forward, you see a small piece of the petal’s underside sitting on top of the upper surface.
- Draw a flat petal, but stop both edges about a fifth of the length short of the tip.
- Join those two stopping points with a slightly curved line. This is the fold.
- From each end of the fold, draw a short line back toward the base, meeting in a point on the center line. You have made a small triangle that hangs down from the fold.
- Soften the triangle’s point so it looks like a rounded tip, not a paper dart.
The triangle is the underside of the petal.
Foreshortened Petals: Toward You, Away and Side On
Foreshortening means a form pointing toward or away from the viewer looks shorter than it is. In a tilted flower, the side petals keep their length while the front and back ones shrink.
- Pointing toward you: draw the petal as wide as a flat one but only a third to a half as long. The tip becomes a broad, shallow curve and the center line is very short.
- Pointing away: the same squashed shape, but the base is hidden behind the flower’s center and you often see the underside.
- Side on: the petal is so thin that it becomes a single long curve, slightly thicker in the middle and tapering at both ends. A hint of a second line near the tip suggests the surface turning.
Case 4: Overlapping Petals
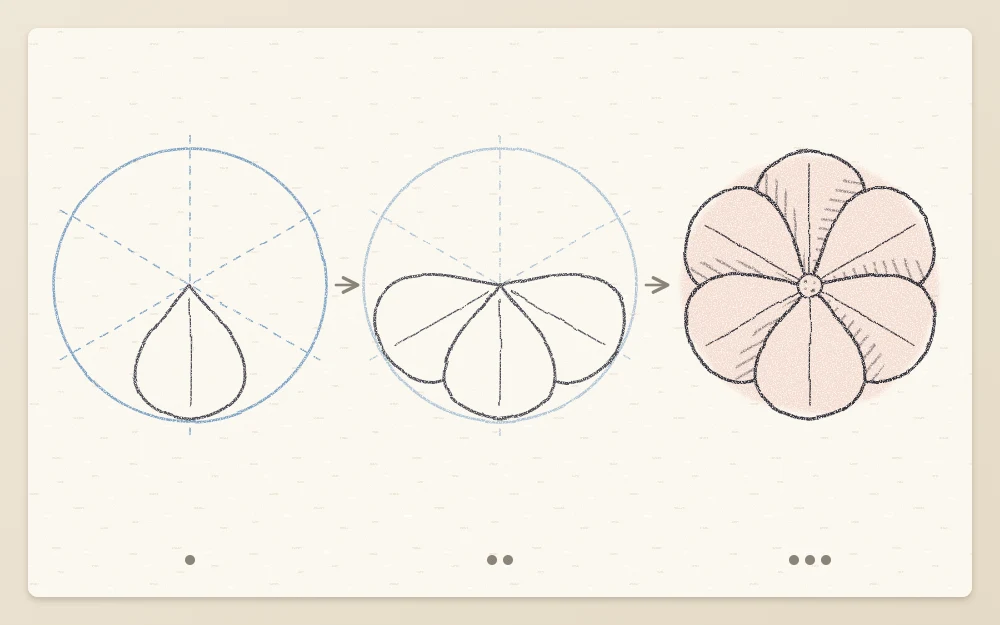
Overlap is the simplest way to show depth: whatever is drawn complete looks nearest. So the order in which you draw matters.
- Choose the front petal and draw it completely, base to tip, both edges.
- Start a second petal on one side. Begin its edge at the contour of the front petal, about a third of the way up from the base, and draw outward and around to its own tip. Its other edge returns to the base. Do not draw any line through the front petal.
- Add a third petal on the opposite side in the same way.
- Continue around the ring, each new petal starting behind the one before it. The last petal tucks behind the previous one and behind the first on its other side.
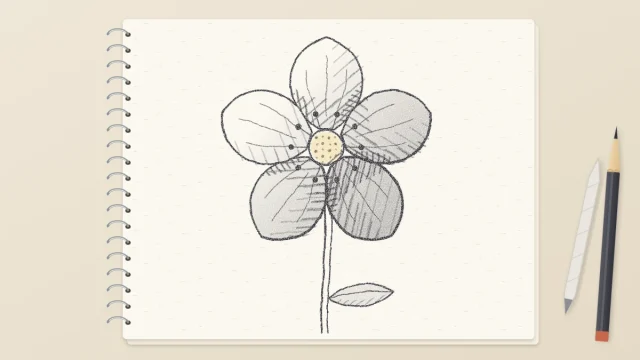
If a hidden edge is hard to judge, sketch the whole petal very lightly, then lift the hidden part with a kneaded eraser. Where one petal slides under another, a small dark wedge of shadow makes the layering obvious; the guide on shading petals with light and form explains exactly where it goes.
Tip
Vary the amount of overlap. If every petal covers exactly the same slice of its neighbor, the ring looks like a pinwheel. Let one gap show and one petal sit almost fully behind another.
Petal Tip Shapes
The tip is the quickest way to tell one flower from another, so look closely at a real flower or your own photo before choosing.
- Rounded: a smooth, even curve. Draw it in one stroke from edge to edge.
- Pointed: the two edges straighten slightly as they approach and meet at a soft point, never a needle.
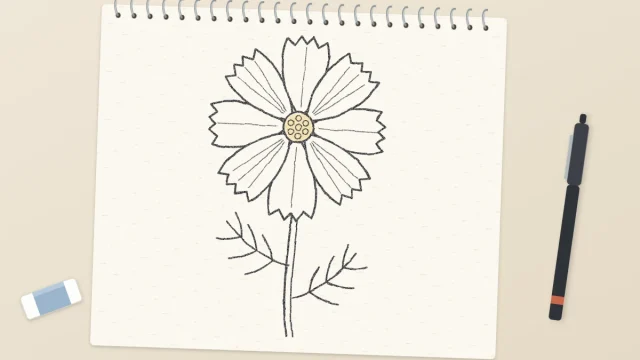
- Notched: a rounded tip with a small V or dip in the middle, right where the center line ends. Keep the notch shallow, about a tenth of the petal’s width.
Common Problems and a Finished Ring
- Petals look like flat paddles. The center lines are all straight. Curve some of them.
- Folded tips look stuck on. The fold line must end exactly on the two edges.
- Overlaps look tangled. Lines are crossing through front petals. Erase everything behind the front contour.
Finish by going over the best petals with a 2B, then draw a full ring of eight on a light guide circle, mixing the poses. Every base should aim at the same point, which is the subject of the guide to discs, stamens and seed pods.
Frequently asked questions
Why do my petals look flat?
Flat-looking petals usually have straight center lines and two identical edges. Curve the center line, make the edge that turns away from you sit closer to it, and let the tip dip or fold. Even one cupped or curled petal among several flat ones gives the whole flower more depth.
Which petal should I draw first when they overlap?
Draw the petal that sits in front first and draw it completely. Then start each neighboring petal at the contour of the one already drawn, so its hidden part is never put on paper. Working from front to back keeps the lines from crossing and makes the layering easy to read.
How do I draw a petal that points toward me?
Keep its width the same as the other petals but shorten its length to roughly a third or a half. The tip becomes a wide, shallow curve and the base sits close behind it. This shortening is called foreshortening, and it is what tells the eye the petal is coming forward.